

Configuring the Remote Management (BMC)
The Baseboard Management Controller (BMC) is a powerful, independent processor inside your server that allows for complete remote control. This is often referred to as "out-of-band" management. Configuring it is the most critical step to prepare your server for production use. This chapter will guide you through accessing the BMC's web interface for the first time and performing the essential initial setup.
Accessing the BMC web interface
To get started, you'll need to find the server's management IP address and use it to log in.
Connect the management port. Locate the dedicated network port labeled MGMT at the rear of the server and connect it to your management network.
Find the IP address. By default, the server is configured to get an IP address automatically from a DHCP server on your management network. You can find this IP address in two common ways:
Check your DHCP server: Look at the active leases on your DHCP server to find the IP address assigned to the BMC's MAC address.
During server boot: Watch the screen during the Power-On Self-Test (POST) sequence. The BMC IP address is often displayed on the screen.
Open a web browser. On a computer connected to the same management network, open a web browser and enter the IP address you just found.
Log in to the interface. You should see the BMC login page. Use the default credentials to log in:
Username:
rootPassword:
0penBmc(The first character is a zero)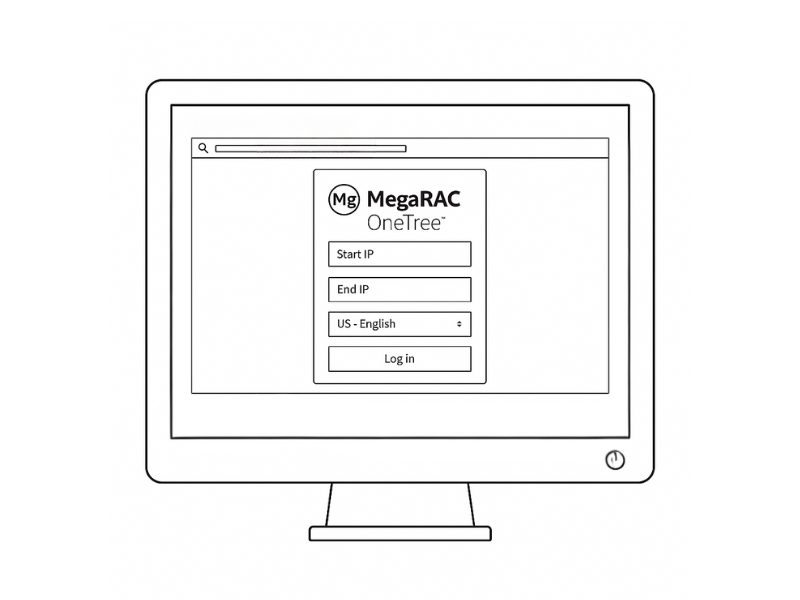
Performing initial setup
After your first successful login, you must perform two critical security and networking tasks.
Step 1: Change the default password
Security Warning: Your first action should always be to change the default administrator password. Leaving it as the default creates a major security risk.
Navigate to the User Management or Settings section of the web interface.
Select the
rootuser account.Follow the prompts to create a new, strong password.
Step 2: Configure a static IP address
While DHCP is useful for the initial connection, a server's management interface should have a permanent, predictable IP address.
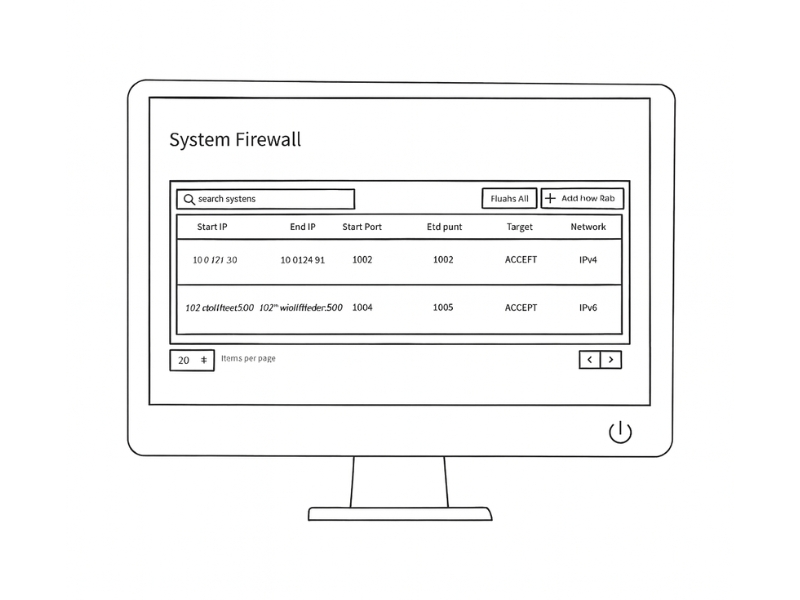
Navigate to the Network Settings section.
Change the configuration from DHCP to Static.
Enter the static IP address, subnet mask, and default gateway provided by your network administrator.
Save the changes. The BMC may restart its network service, and you will need to reconnect using the new static IP address. [Image, NEW: A screenshot of the BMC network settings page, with the fields for static IP, subnet, and gateway clearly highlighted.]
BMC Web Interface Reference
Once configured, the BMC gives you complete control over your server. This table provides an overview of the key sections in the web interface.
Dashboard
Provides an at-a-glance summary of the server's health, including critical sensor readings and logs.
System Information, Sensor Status, Recent Events
System Status
Offers detailed views of hardware components.
Processor Information, Memory Details, Fan Speeds, Voltages, Temperatures
Remote Console
Launches the KVM (Keyboard, Video, Mouse) for full graphical control of the server.
Launch KVM, Virtual Media (ISO mounting)
Power Controls
Allows you to remotely manage the server's power state.
Power On/Off, Reset, Power Cycle
Event Log (SEL)
Displays the System Event Log, which records all hardware-related events, warnings, and errors.
View Logs, Clear Logs, Filter Events
Maintenance
Contains tools for managing the BMC itself.
Firmware Update (for BIOS & BMC), User Management, Network Settings, Backup/Restore
Last updated