

Servicing Cooling and Power
This chapter covers routine maintenance tasks for components that ensure your server stays cool and powered on. You'll learn how to replace system fans, power supply units (PSUs), and the motherboard's battery.
Replacing a system fan module
The server uses hot-swappable fan modules. If a fan fails, you can replace it while the server is running.
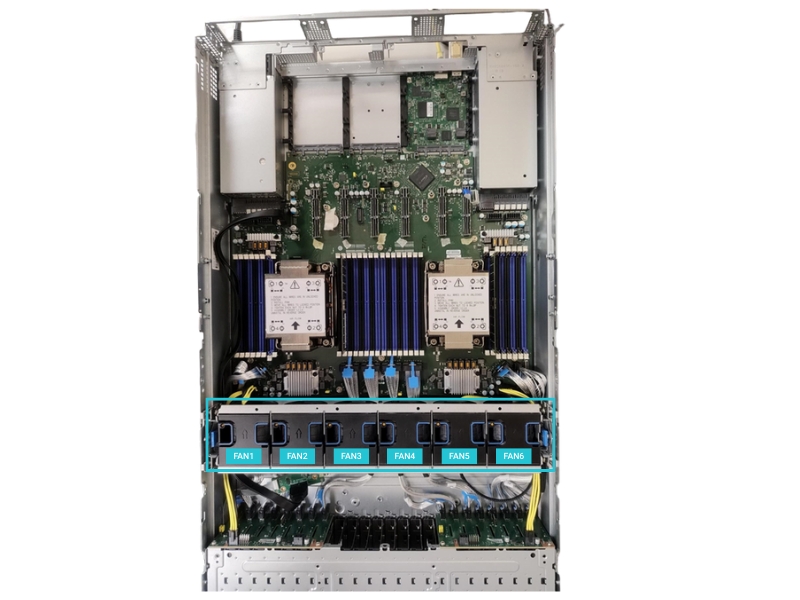
Fan Module Overview
Fan Slot #
Fan Type
Connector Type
Zone Coverage
Controlled By
Notes
FAN1
4-pin PWM
Standard PWM
CPU0 / VRM zone
BMC via SMBus
Critical for CPU0 thermal performance.
FAN2
4-pin PWM
Standard PWM
DIMM A–D zone
BMC
Shared with memory channel 0.
FAN3
4-pin PWM
Standard PWM
CPU1 / VRM zone
BMC
Mirrors FAN1 logic for CPU1.
FAN4
4-pin PWM
Standard PWM
DIMM E–H zone
BMC
Controls airflow near rear riser slots.
FAN5
4-pin PWM
Standard PWM
PCIe / OCP zone
BMC
Optional depending on slot population.
FAN6
4-pin PWM
Standard PWM
PCIe / OCP zone
BMC
Controls airflow near rear riser slots.
To replace a fan module:
Identify the failed fan. The system's management interface (BMC) will report a failed fan.
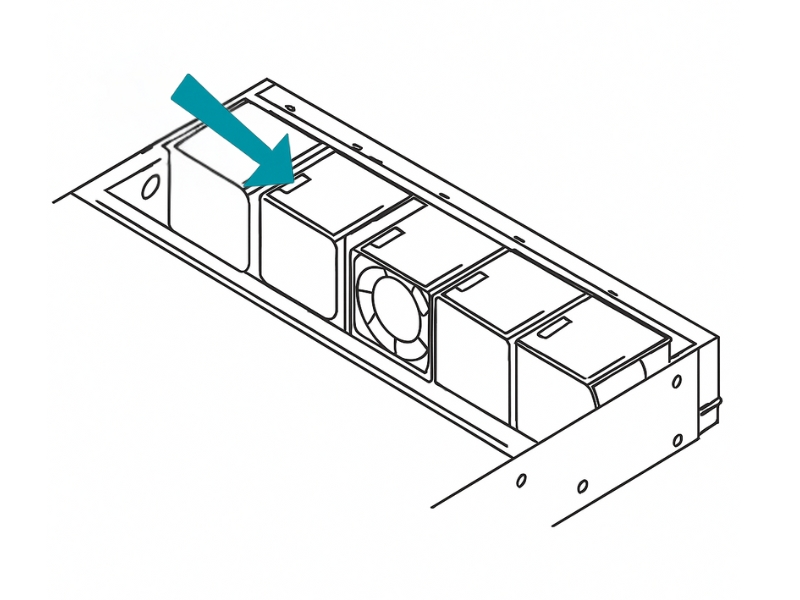
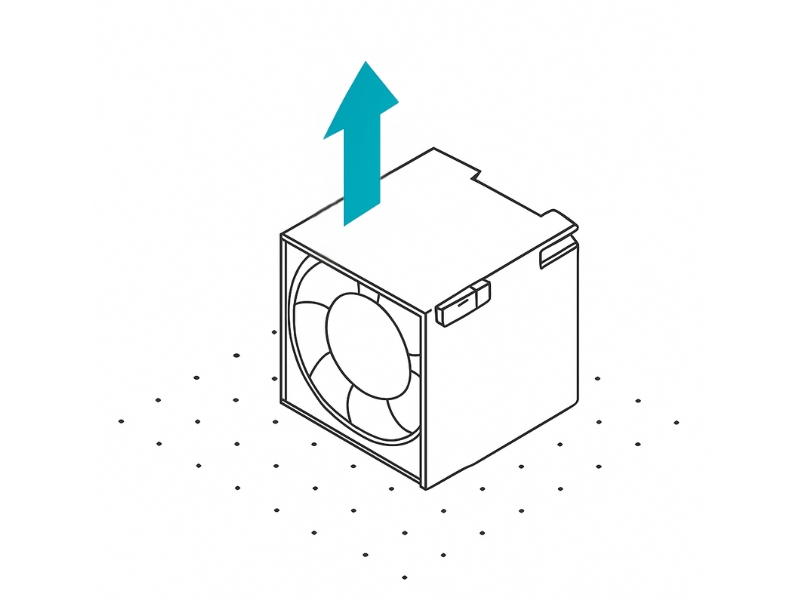
Release the fan module. Grasp the top of the fan module and press the release tab.
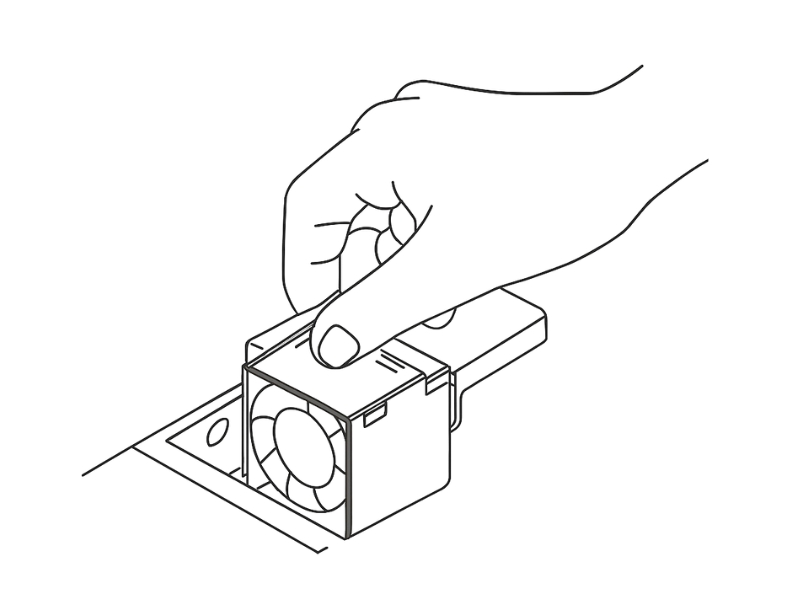
Remove the module. Lift the fan module straight up and out of the chassis.
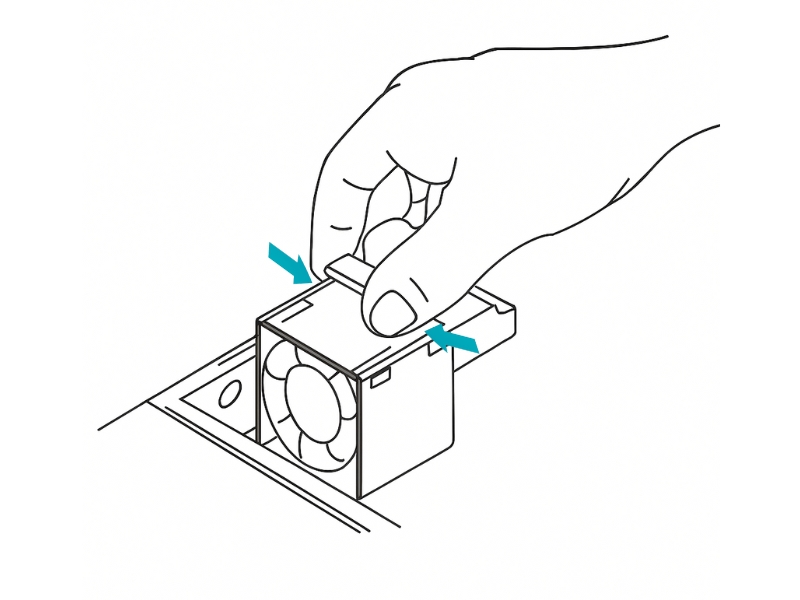
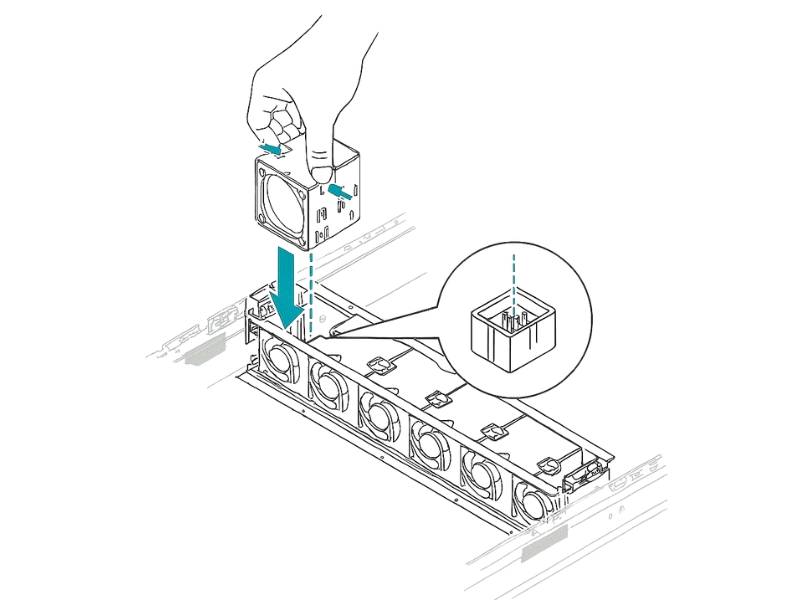
Install the new fan module. Align the new fan module with the empty slot and press it down firmly until it clicks into place.
Best Practice: Replace failed fans immediately
Never run the server for an extended period with a missing or failed fan.
Replacing a power supply unit (PSU)
This server is equipped with two hot-swappable PSUs for redundancy.
To replace a PSU:
Identify the failed PSU. A failed PSU is typically indicated by an amber or red fault LED.
Disconnect the power cord from the failed PSU only.
Remove the failed PSU. Press the release latch and pull the module straight out.
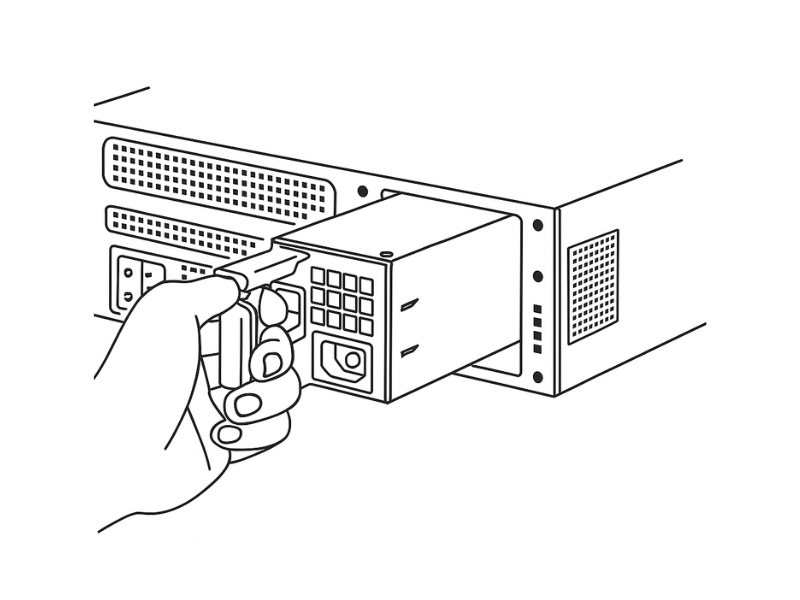
Insert the new PSU until it clicks into place.
Reconnect the power cord.
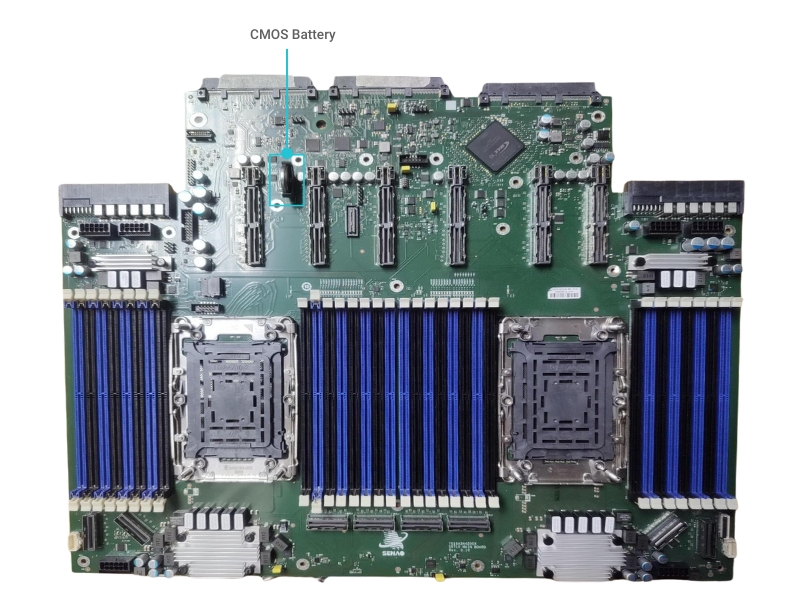
Replacing the motherboard battery
The motherboard has a coin-cell battery (CR2032) that maintains the system's clock and BIOS settings.
Warning: Battery Safety Precautions
Use only the same or equivalent type of battery as specified by the manufacturer.
Do not dispose of the battery in fire or attempt to recharge it. Risk of explosion or chemical leakage.
Handle the battery with care. Improper handling may cause burns or short circuits.
Dispose of used batteries in accordance with local environmental regulations.
To replace the battery:
Power off the server and open the chassis.
Locate the battery on the motherboard.
Remove the old battery. Gently push the metal clip on the side of the holder to release it.
Install the new battery with the "+" side facing up.
Close the chassis and power on. You will need to enter the BIOS setup utility to re-configure the date, time, and any custom settings.
Last updated