

Configuring the BIOS
This chapter explains how to access and configure the server's BIOS (Basic Input/Output System). The BIOS is the firmware that initializes the hardware during the boot process and provides runtime services for the operating system. Correctly configuring the BIOS is a critical step before you install an OS.
Accessing the BIOS setup utility
You can enter the BIOS setup utility only during the initial moments of the server's boot process.
To access the BIOS:
Connect a monitor and keyboard to the server if you plan to work locally.
Power on or restart the server.
Watch the screen for a prompt that appears shortly after power-on. It will tell you which key to press to enter setup. This prompt is usually only on the screen for a few seconds.
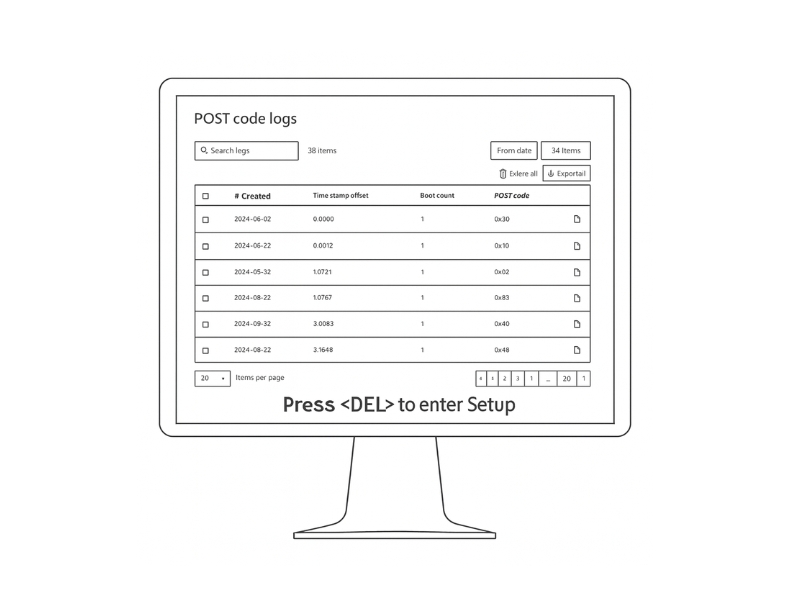
Press the <Delete> key. On this server, you'll press the <Delete> key repeatedly until the BIOS setup screen appears.
Navigating key settings
The BIOS setup utility is organized into several menus. You'll typically use the arrow keys to navigate, Enter to select, and Esc to go back. While there are many options, here are the most important ones to check before deploying a server.
Boot Order
This setting tells the server which device to boot from first.
Location: Usually found under a Boot or Boot Manager menu.
What to do: Set the boot order to match your OS installation plan. For example, to install from a USB drive, set the USB drive as the first boot device. For network booting, select the PXE-enabled network card.
Virtualization Technology
To run hypervisors like VMware ESXi or Microsoft Hyper-V, you must enable hardware virtualization support.
Location: Look for Intel (VMX) Virtualization Technology or similar options, often in an Advanced or CPU Configuration menu.
What to do: Ensure this setting is set to Enabled.
Storage Configuration
This setting controls how the system interacts with the storage drives.
Location: Typically under an Advanced or Integrated Peripherals menu.
What to do: Choose the mode that fits your needs.
AHCI (Advanced Host Controller Interface): The standard mode for NVMe drives when you are not using RAID.
RAID (Redundant Array of Independent Disks): Enable this mode if you plan to use the onboard Intel VROC (Virtual RAID on CPU) to create a RAID volume from your NVMe drives.
Best Practice: Load Optimized Defaults First
Before you make any changes, it's a good practice to load the BIOS default settings. Look for an option like Load Optimized Defaults (often F9). This gives you a stable, known-good starting point. After loading the defaults, you can then make your specific changes.
Saving your configuration
Any changes you make in the BIOS are not applied until you save them.
To save and exit:
Navigate to the Save & Exit menu.
Select the Save Changes and Reset (or Save Changes and Exit) option. This is often the F10 key.
Confirm that you want to save and exit. The server will save your settings and reboot.
BIOS Menu Reference
For users who need to explore beyond the basic settings, this table provides a complete overview of the main BIOS menus and their functions.
Main
Displays an overview of the system, including BIOS version, processor type, memory size, and system time.
System Time/Date
Advanced
Contains detailed configuration options for the CPU, chipset, storage, and other onboard devices.
CPU Configuration (Virtualization, Power Management), NVMe Configuration, Network Stack
Security
Manages security features, including administrator passwords and Secure Boot settings.
Administrator Password, Secure Boot Configuration
Boot
Controls the boot process, including boot device order and UEFI/Legacy boot modes.
Boot Option Priorities, UEFI/Legacy Boot Mode
Save & Exit
Provides options for saving or discarding changes, loading default settings, and overriding the boot device.
Save Changes and Reset, Discard Changes and Exit, Load Optimized Defaults, Boot Override
Last updated