Cam5MP Bullet IP66
Cloud Managed AI Outdoor Bullet with 256GB Storage (ECC120)
Introduction
This Quick Start Guide is designed to guide you through the installation of the Cam5MP Bullet IP66 Camera, model ECC120, including hardware mounting and configuration.
Cam5MP Bullet IP66
Cloud-Managed AI Outdoor Bullet with 256GB Storage
Model: ECC120
Cloud Dashboard Management and Mobile App monitoring anywhere
5MP Sony Starvis sensor with HDR of crystal clear image quality day and night
3DNR and long IR distance of 30m of excellent night vision
Camera durable 256GB storage for event and continuous recording 24x7
IP66 and working -20°C ~ 50°C / -4°F ~ 122°F for tough weather conditions
AI NPU of people and vehicle detection for instant alert, search, and statistics
Package Contents

System Requirements
Before signing up for the EnGenius Cloud Service or logging into the EnGenius Cloud Platform to manage your network, ensure that you have downloaded the correct app and are using a supported browser.
Mobile App:
EnGenius Cloud To-Go (iOS/ Android supported)
⬇️ Download the Cloud To-Go mobile app here

Web Browser:
Google Chrome (57.0.2987.110 and later)
Microsoft Edge (80.0.361.103 and later)
Mozilla Firefox (52.0 and later)
Network Requirements
Before you get started, please make sure your network environment is DHCP-enabled. EnGenius Cloud Camera (ECC series) are default assigned an IP address dynamically by the DHCP server. If you have a firewall, it must allow outgoing connections on specific ports to certain IP addresses. For the firewall rule, please refer to the User Manual. Cameras use the DNS server to resolve EnGenius cloud services to IP addresses to communicate with them. Your DHCP server tells the camera where the DNS server is on the network and the camera communicates with it.
Hardware Overview

Reset Button:
Reset to default: Press and hold the reset button for over 10 seconds, and the LED(PWR) will start Fast Flashing (0.2 sec). Then, the device will be reset to factory default settings. To delete videos stored on the camera, press and hold the reset button for 15 seconds.
LEDs

Hardware Mounting
Precaution
Before setting up surveillance cameras, plan your system thoroughly and determine the placement and coverage of each camera. Also, decide whether to route cables through walls/ceilings (which involves drilling) or along walls/ceilings using baseboard cable channels.
To ensure better image quality and extend the lifespan of your cameras, avoid exposing them to direct sunlight.
Hire qualified technicians for maintenance and repairs. Ensure the equipment is powered off before performing any maintenance tasks.
Important: To prevent damage or scratches, remove the protective cover from the camera’s transparent Lens cover only after completing the entire installation.
Hardware Installation
The camera can be mounted on the Ceiling and Wall. Please perform the steps for the appropriate installation:
Attach the waterproof connector to the Ethernet cable.
Place the O-ring onto the camera cable connector, then connect it to the Ethernet cable. The cable can be routed into a hole in the wall or ceiling for a clean installation.

Position the camera base on the ceiling or wall, and use any pair of opposing mounting slots to mark the drilling points. When installing, ensure the camera’s orientation and cable exit direction are properly aligned.
Drill holes at the marked locations, then secure the camera base to the mounting surface using the included anchors and screws.

To adjust the monitored image position, loosen the screw and manually set the camera’s pan, tilt, and rotation angles.

Configure with EnGenius Cloud
Step1: Register Device and Assign to Network
You can register the device with the Cloud To-Go mobile app or the EnGenius Cloud platform.
Cloud To-Go Mobile App
Open and log in to the EnGenius Cloud To-Go mobile app.
Scan the QR code on the back of the device via the app.

3. If the camera successfully scans a QR code, the app will display the device Information. You could tap "Register" to complete the Registration.

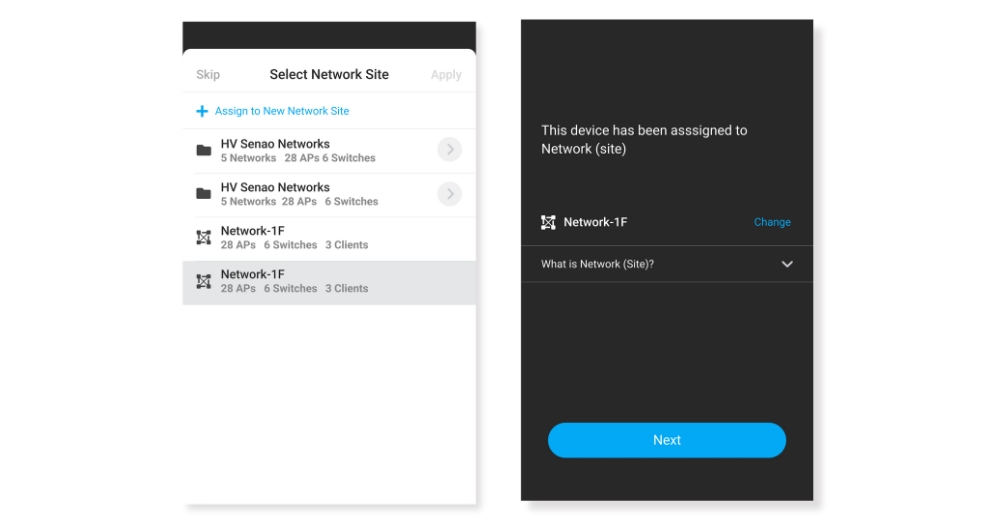
4. Registered devices will be shown on the Inventory&License page. Slide left on the device and click "Assign to New Network" to add the device to your personalized Network.
EnGenius Cloud Platform
Log in to the EnGenius Cloud Platform: https://cloud.engenius.ai/.
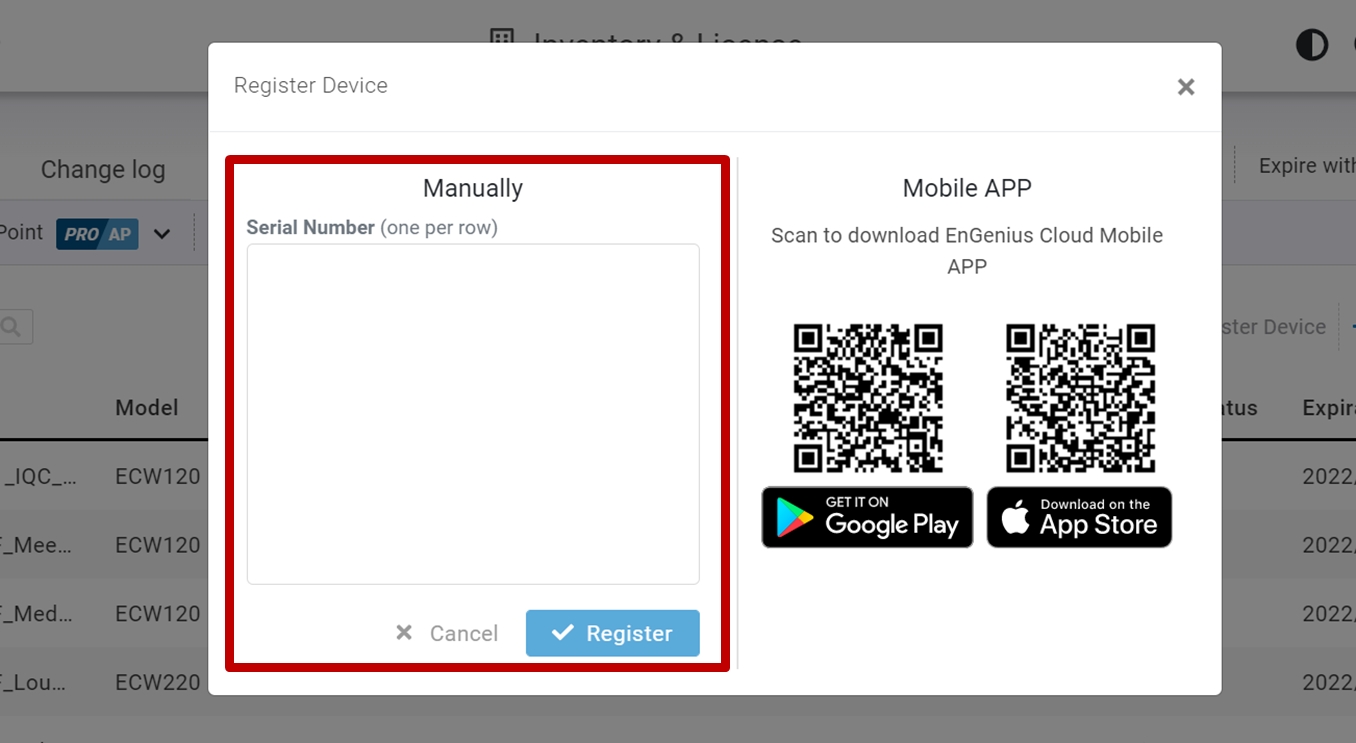
Go to the home > Inventory&License page and click "Register Device".
Enter the Serial Number of the device(s) for device registration. Please refer to "User Manual-Registering Devices to Organization".
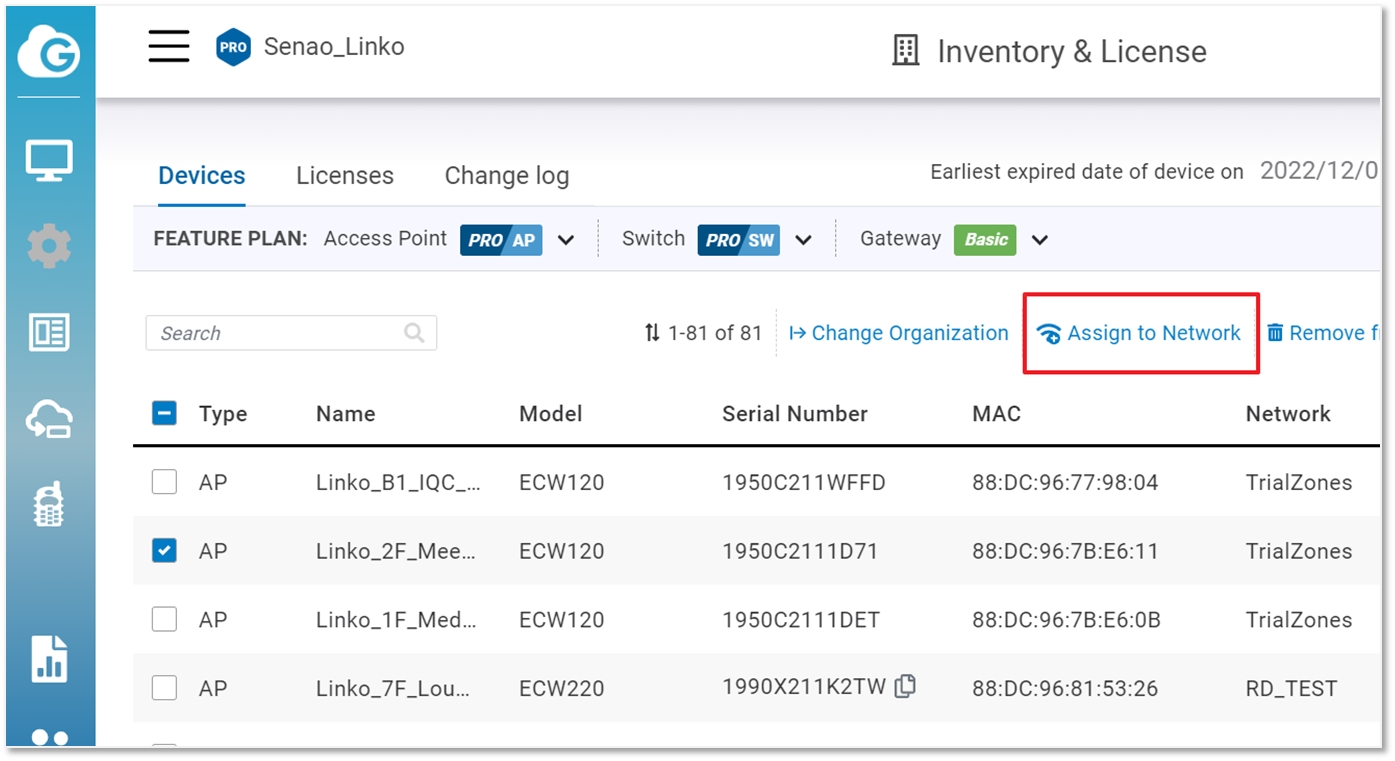
4. Select the registered device and click "Assign to Network" to add the device to your personalized Network.
Step2: Power On Device
The ECC120 cloud camera device can be powered by any of the following:
EnGenius Cloud PoE Switch or 802.3af compliant Switch
EnGenius PoE adaptor (EPA5006GP/EPA5006GAT)
Connecting to a PoE Switch
Connect the Ethernet cable from the EnGenius Cloud Camera directly to the PoE port of the PoE switch.

Powered with a PoE Adapter
(A) Connect one end of the Ethernet cable into the LAN (PoE) port of EnGenius Cloud Camera and the other end to the PoE port on the PoE Adapter.
(B) Connect the power cord with the PoE Adapter and plug the other end into an electrical outlet.
(C) Connect the second Ethernet cable to the PoE adapter's LAN port and the other end to the LAN.

Step3: Connect to the EnGenius Cloud
Once the device is powered on and ready to connect to the Internet, the LED indicator will stay Solid On, which means the device is now connected to the EnGenius Cloud Platform. It will automatically download the default configuration settings from EnGenius Cloud for automated provisioning.
When the Camera is connected to the EnGenius Cloud Platform for the first time, it will automatically check the latest firmware version available. If the firmware upgrade is required, it might take 8~10 minutes to complete the process. The LED indicator will be Flashing (every 0.5 sec) till the process is finished.
Step4: Manage with the EnGenius Cloud
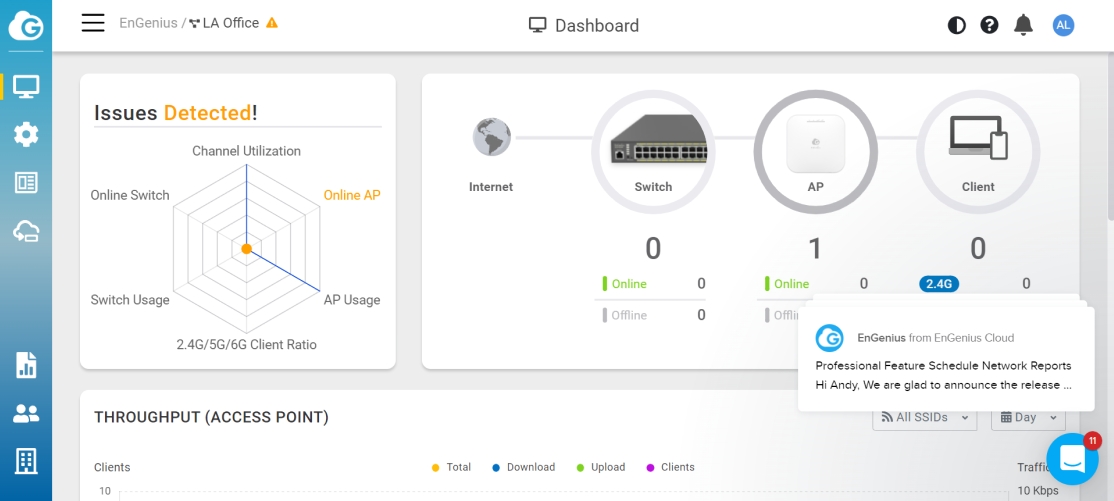
Log in to the EnGenius Cloud platform to configure detailed settings. For more information, please refer to the User Manual.
To remove a camera for other uses, you must first Remove it from the personalized network in EnGenius Cloud, Deregister it, and then reset the camera.
Last updated


