Loading...
Loading...
Loading...
Loading...
Loading...
Loading...
Loading...
Loading...
Loading...
Loading...
IEC 62368-1 ed3
EN 62368-1 ed3
EN 55032:2015+A1:2020 (Class A)
BS EN 55032:2015+A1:2020 (Class A)
AS/NZS CISPR 32:2015+AMD1:2020
EN 55035:2017+A11:2020
BS EN 55035:2017+A11:2020
IEC 61000-4-2:2008
BS EN 61000-4-2:2009
EN IEC 61000-3-2:2019+A1:2021
BS EN IEC 61000-3-2:2019+A1:2021
IEC 61000-4-3:2020
BS EN IEC 61000-4-3:2020
IEC 61000-4-4:2012
BS EN 61000-4-4:2012
EN 61000-3-3:2013+A2:2021
BS EN 61000-3-3:2013+A2:2021
IEC 61000-4-5:2014/AMD1:2017
BS EN 61000-4-5:2014+A1:2017
IEC 61000-4-6:2013
BS EN 61000-4-6:2014
IEC 61000-4-8:2009
BS EN 61000-4-8:2010
IEC 61000-4-11:2020
BS EN IEC 61000-4-11:2020
Hereby, EnGenius Networks declare that this product is in compliance with:
RoHS Directive 2015/863
WEEE Directive 2012/19/EU
REACH Regulation
Maximum data rates are based on the IEEE standards. Actual throughput and range may vary depending on many factors including environmental conditions, the distance between devices, radio interference in the operating environment, and the mix of devices in the network.
Features and speci fications are subject to change without notice.
Operation is subject to the following two conditions: (1) this device may not cause harmful interference, and (2) this device must accept any interference received, including interference that may cause undesired operation.
Trademarks and registered trademarks are the property of their respective owners. For the United States of America: Copyright © 2023 EnGenius Technologies, Inc. All rights reserved.
Class I Equipment. This equipment must be earthed. The power plug must be connected to a properly wired earth ground socket outlet. An improperly wired socket outlet could place hazardous voltages on accessible metal parts.
"CAUTION: Risk of Explosion if Battery is replaced by an Incorrect Type. Dispose of Used Batteries According to the Instructions."
CAUTION:
- Lithium Battery Caution: Danger of explosion if battery is incorrectly replaced. Replace only with same or equivalent type. Dispose batteries according to manufac- turer's instructions.
- Disposal of a BATTERY into fire or a hot oven, or mechanically crushing or cutting of a BATTERY, that can result in an EXPLOSION
- Leaving a BATTERY in an extremely high temperature surrounding environment that can result in an EXPLOSION or the leakage of flammable liquid or gas
- A BATTERY subjected to extremely low air pressure that may result in an EXPLOSION or the leakage of flammable liquid or gas.
WARNING: There is danger of explosion if the battery is mishandled or incorrectly replaced. Replace only with the same type of battery. Do not disassemble it or attempt to recharge it outside the system. Do not crush, puncture, dispose of in fire, short the external contacts, or expose to water or the liquids. Dispose of the battery in accordance with local regulations and instructions from your service provider.
Advertissment Équipement de classe I. Ce matériel doit être relié à la terre. La fiche d’alimentation doit être raccordée à une prise de terre correctement câblée. Une prise de courant mal câblée pourrait induire des tensions dangereuses sur des parties métalliques accessibles.
“ATTENTION: Risque d’explosion si la batterie est remplacée par un type incorrect. Mettre au rebus les batteries usagées selon les instructions.“
MISE EN GARDE:
- Pile au lithium Attention: Risque d'explosion si la pile n'est pas remplacée correctement. Remplacez uniquement par un type identique ou équivalent. Jetez les piles conformément aux instructions du fabricant.
- Mise au rebut d'une BATTERIE dans un feu ou un four chaud, ou écrasement ou découpage mécanique d'une BATTERIE, pouvant entraîner une EXPLOSION
- Laisser une BATTERIE dans un environnement extrêmement chaud pouvant entraîner une EXPLOSION ou une fuite de liquide ou de gaz inflammable
- UNE BATTERIE soumise à une pression d'air extrêmement basse pouvant entraîner une EXPLOSION ou une fuite de liquide ou de gaz inflammable.
Hardware Installation
Read the following before installing or operating the Power Distribution Units (PDU)
Use only the supplied hardware to attach the mounting brackets.
Intended to be used in a location having equipotential bonding (such as a telecommunication center, a dedicated computer room
Installation instructions that require verification of the PROTECTIVE EARTHING connection of the socket-outlet by a SKILLED PERSON
Do not use extension cords or adapters with this PDU
Never install a PDU or associated wiring or equipment during a lightning storm
Ensure that the power cord, plug, and socket are in good condition
Suitable for installation in Information Technology Rooms in accordance with Article 645 of the National Electrical Code and NFPA 75. (Marking or Instruction) The PDU can be secured using the screws and rack ears included in the accessory kit
Peut être installé dans des salles de matériel de traitement de l’information conformément à l’article 645 du National Electrical Code et à la NFPA 75 (Marking or Instruction)
Step 1: Attach the Rubber Footpads to the bottom corners of the PDU. The Rubber Footpads help secure the PDU and protect it from vibration and shock when stacked.
Step 2: Use 8(M4 x 6) screws to attach the rack ears to both sides of the device. This will allow you to position the PDU on any flat surface.
Step 3: Attach the bracket with 4(T4x19) to secure the PDU firmly to the flat surface.
Securely attach the device with rack ears onto the rack using screws. Make sure it is securely attached and not wobbling.
(Due to different rack specifications, we have not included rack mounting screws. We recommend using M5 x 12 screws along with washers for securing.)
Connect the Power cord to the front of the PDU, and then plug it into the power outlet.
Cloud Managed 2U 10A Smart PDU with 12 Metered Outlets (ECP212-INT)
This Quick Start Guide is designed to guide you through installing the PDU 12P 10A 200-240V, model ECP212-INT, including hardware mounting and configuration.
PDU 12P 10A 200-240V
Cloud Managed 2U 10A Smart PDU with 12 Metered Outlets
Function
• Real-time power consumption monitoring and alarming per outlet
• Remote switching per outlet
• 1.3 inches display for visualizing power information
• Attempt to reconnect from internet outages automatically
• Local and cloud management with analytic reports
• Bracket ears provide different angle installation
Safety
• 12A circuit breaker from overloading protection
• Fireproof MOV and grounded protection
• UL 62368-1, CE, RCM
Integration
• RESTFUL API supported
• SNMP v1 2c 3 supported
Google Chrome (105.0.5195.127 or later)
Microsoft Edge (112.0.1722.48 or later)
Before you get started, please make sure your network environment is DHCP-enabled. EnGenius PDU is assigned with an IP address dynamically by the DHCP server. You could check the given IP address from PDU's LCD. The IP address is shown under Menu>information.
Reset to default:
Press and hold the reset button for at least 15 seconds. Holding it for less than 15 seconds will only trigger a reboot. The system will restart automatically without any noticeable indication.
To initiate a factory reset, navigate to the LCD menu and select the "Factory reset" option. The screen will then indicate the resetting process with a progress bar.
Connect your computer to the PDU and ensure its IP address is in the same subnet.
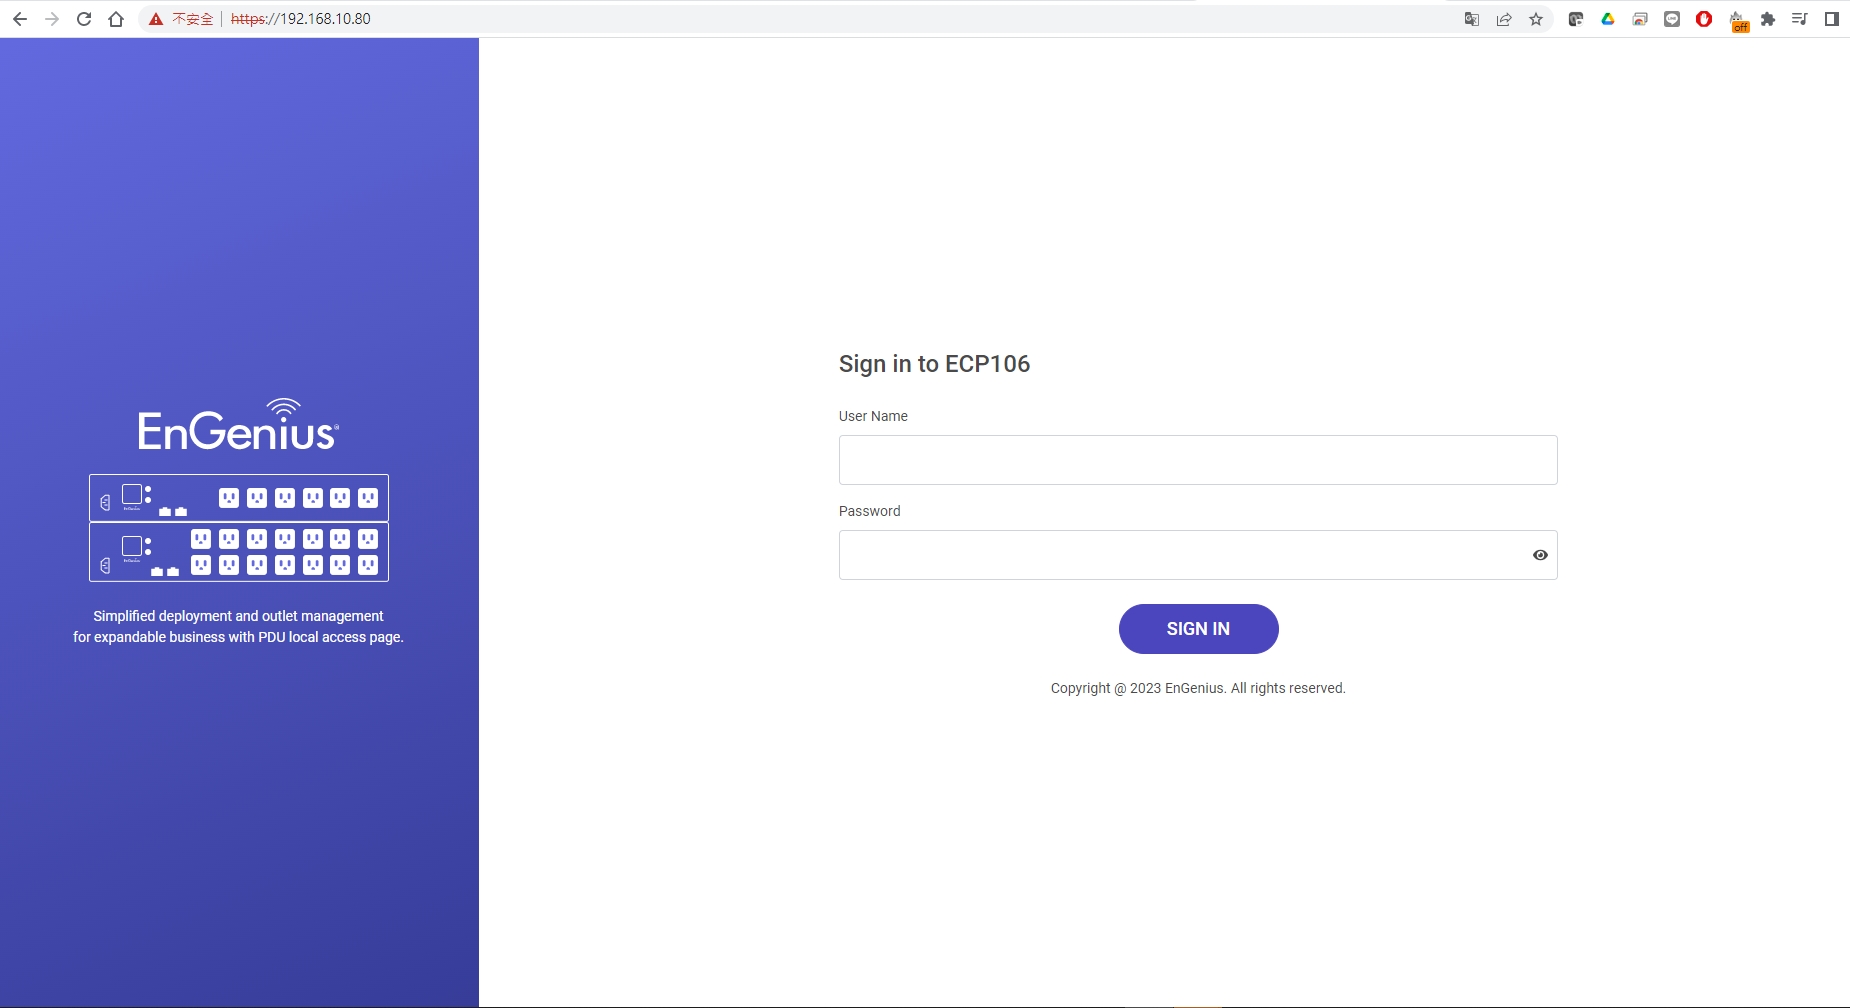
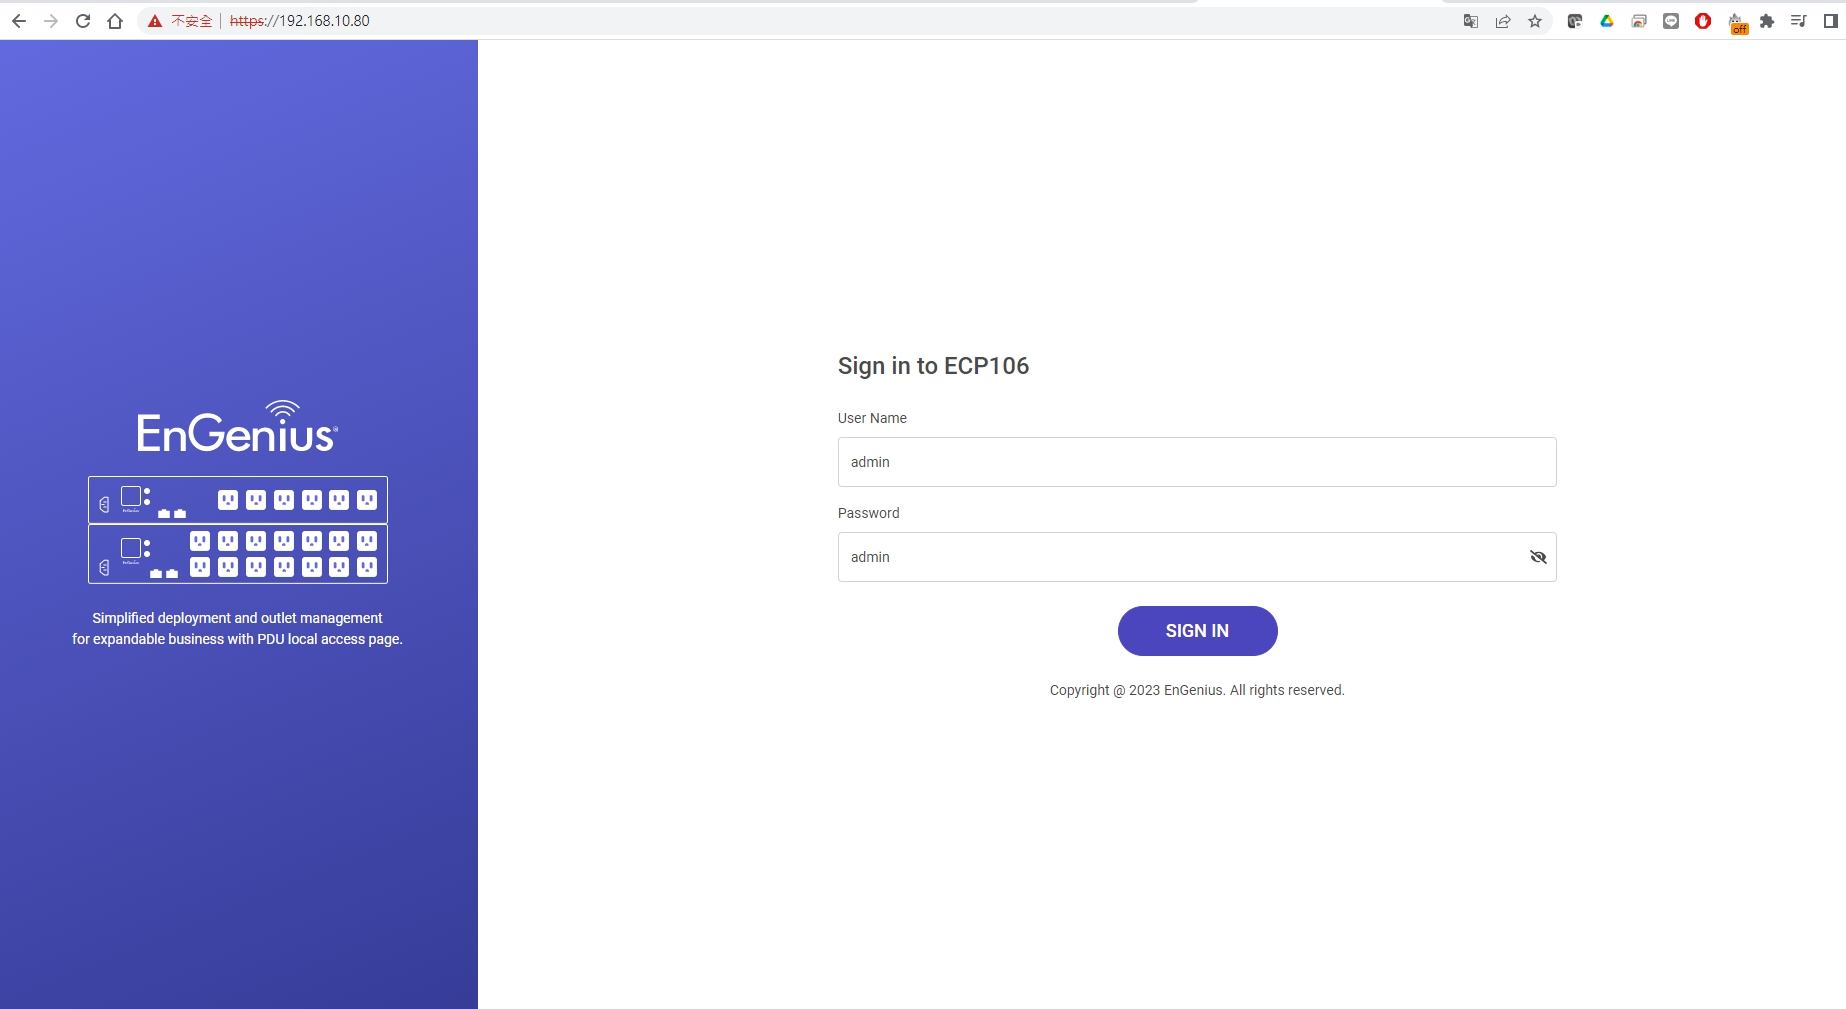
Launch your web browser and enter the URL: http://192.168.10.80 to access the PDU's local web GUI.
Use the default login credential (ID/PWD: admin/admin) to log in to the PDU's local web page.
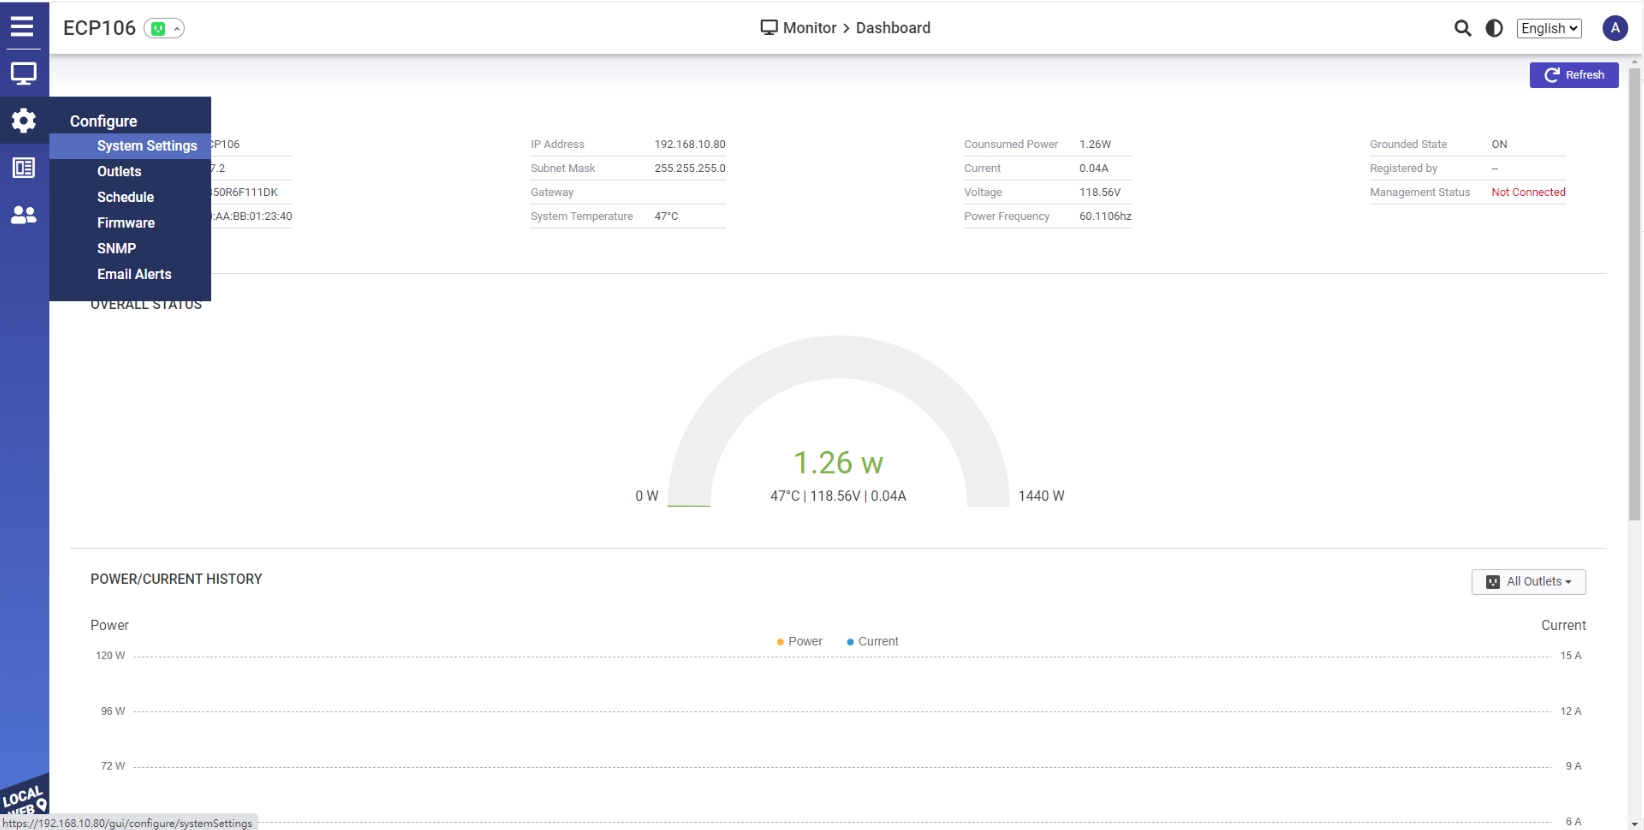
After logging in to the device's local web page, navigate to the left-side menu to configure and manage the PDU accordingly.
Connect the Ethernet cable from the EnGenius Switch directly to the DHCP-enabled network and make sure the PDU can reach the Internet.
You can register the device either by Cloud To-Go mobile app or the EnGenius Cloud platform.
Open and log in to the EnGenius Cloud To-Go mobile app.
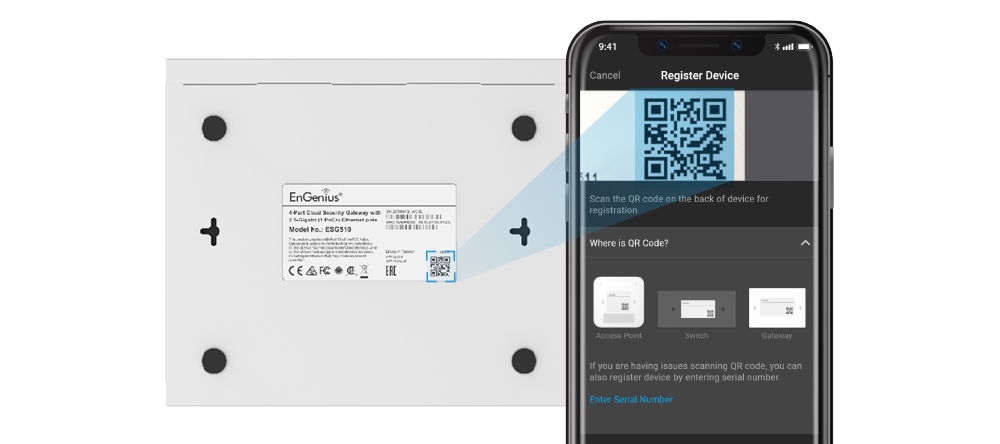
Scan the QR code on the back of the device via the app.
3. If the camera successfully scans a QR code, the app will display the Device Information. You could tap "Register" to complete the Registration.
4. Registered devices will be shown on the Inventory & License page. Upon sliding left the device, you can click "Add to Network" to add the device to your designated Network.
Network: Management domain shared same configurations within EnGenius Cloud.
Log into the EnGenius Cloud Platform: https://cloud.engenius.ai/.
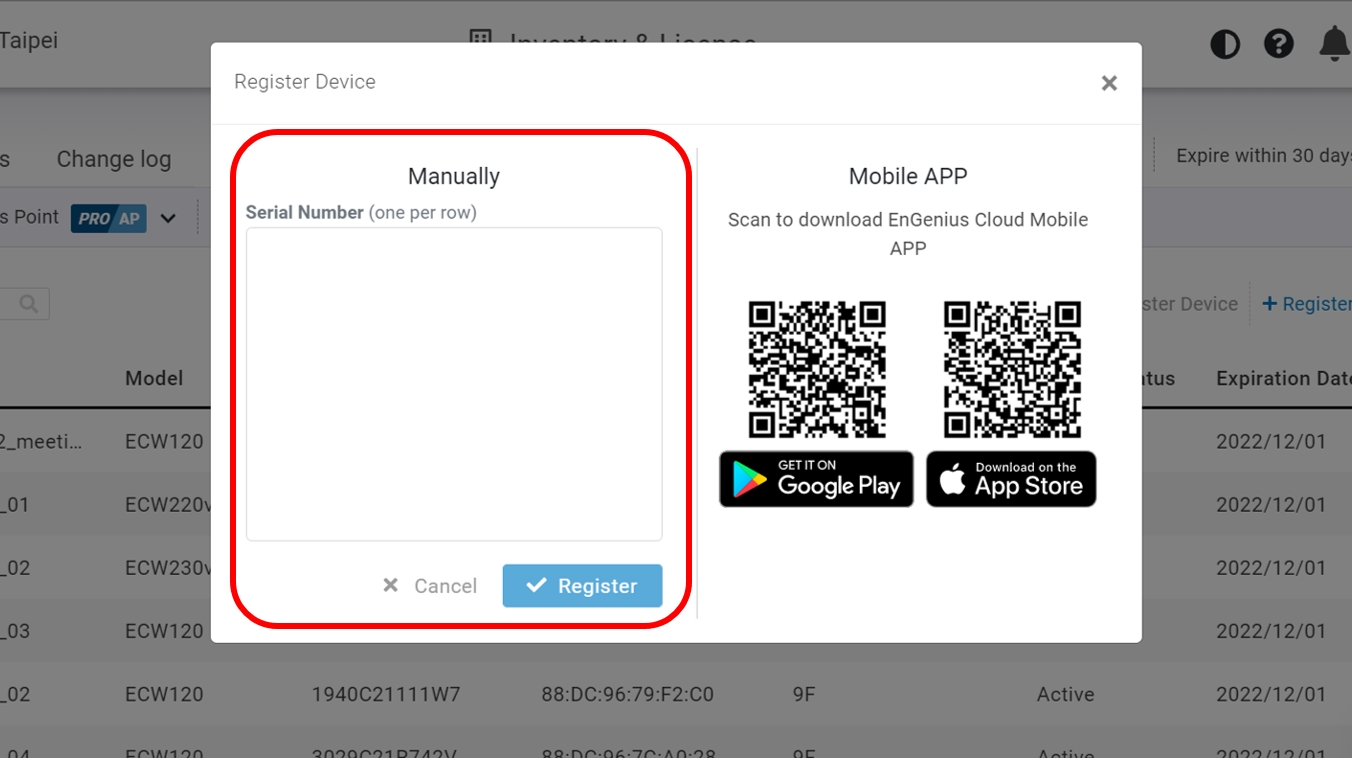
Go to the home > Inventory page and click "Register Device".
Enter the Serial Number of the device(s) for device registration. Please refer to "User Manual-Registering Devices to Organization".
4. Select the registered device and click "Assign to Network" to add the device to your designated Network.
Network: Management domain shared same configurations within EnGenius Cloud.
If your PDU device cannot be managed by the EnGenius Cloud Platform, there might be a problem with connecting to EnGenius Cloud.
To troubleshoot the connection issue, you may log in to the PDU Local Web (optionB) page:
Make sure that your host system has same layer-2 network as the PUD. By default, the computer should get the IP address in this segment 192.168.10.x.
Under your web browser, enter the URL: http://192.168.10.80 to access the PDU's local status page web interface.
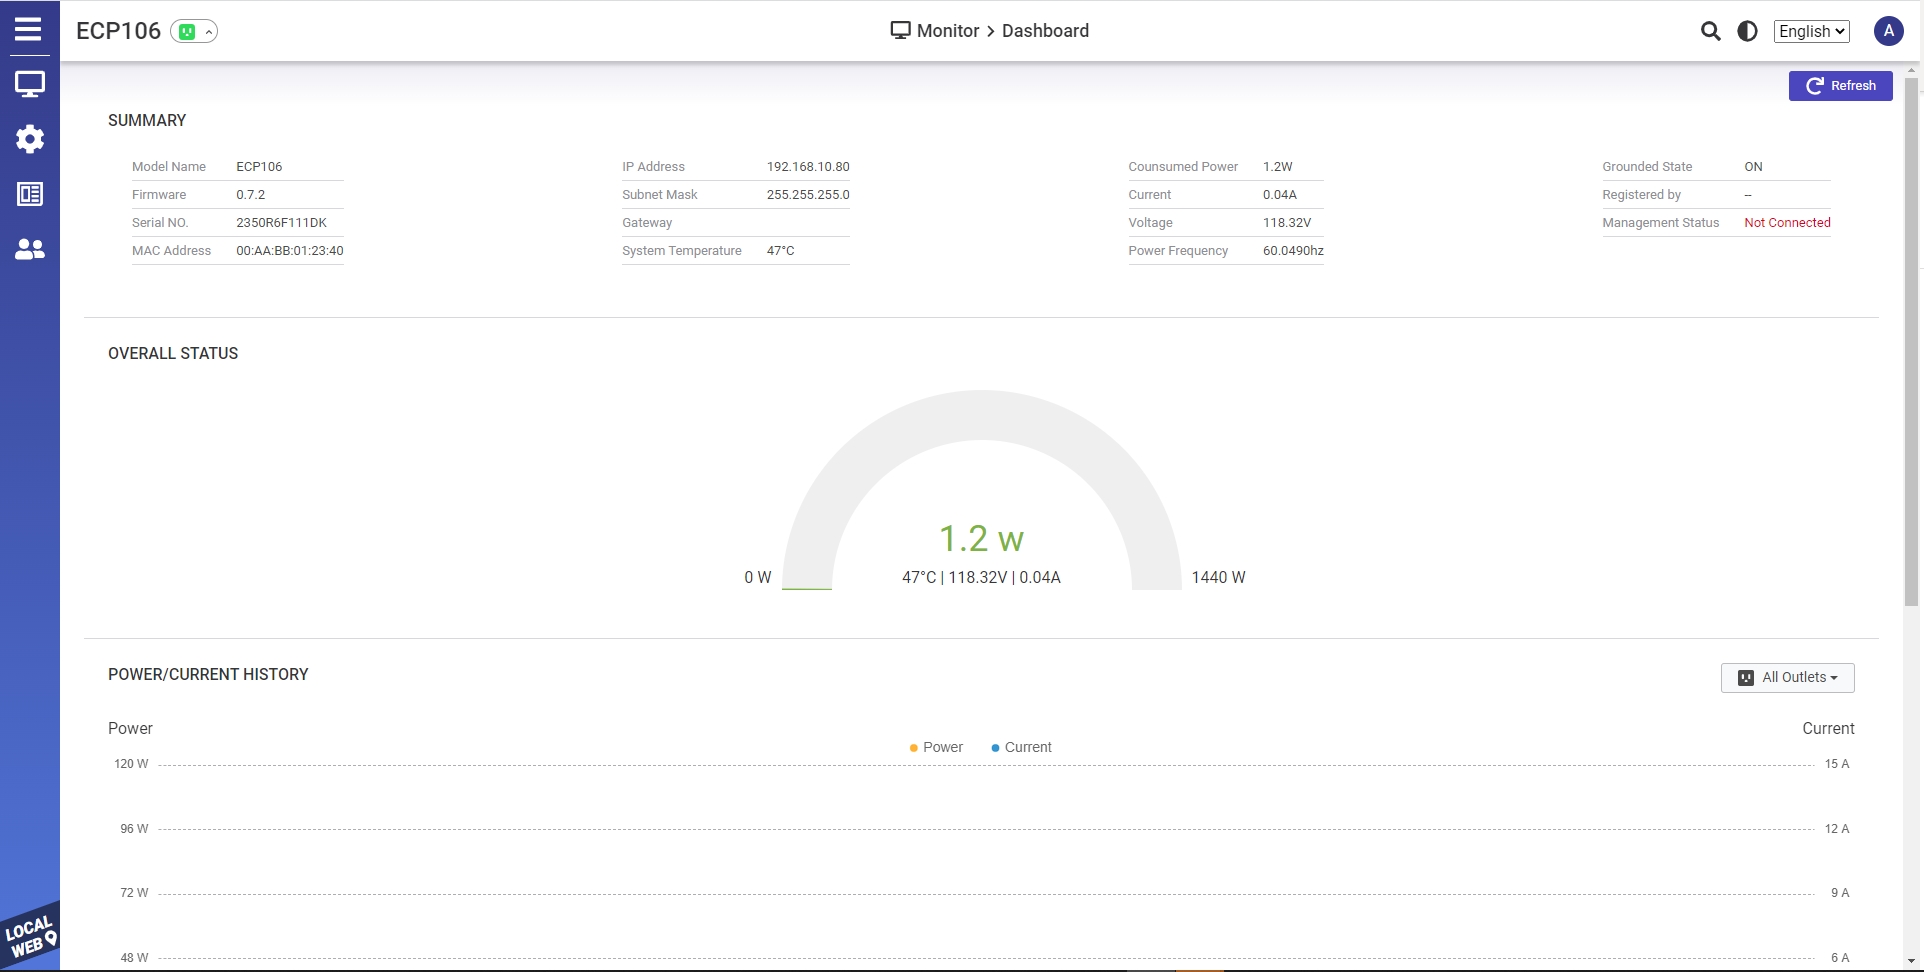
You can review the device status after logging into the PDU with the default admin account/password (admin/admin).
Check the information on the Device Status and take action if necessary.
EnGenius Cloud To-Go provides flexibility to manage your devices based on your network planning and deployment.
Option A: Cloud Management
Option B: Standalone Configuration
Manage and monitor the PDU through the EnGenius Cloud To-Go with a mobile app or through the web portal.
EnGenius Cloud To-Go (iOS/Android)
Download the Cloud To-Go mobile app here
You can locate the computer, connect to the same network (subnet) as the PDU and use the web browser to access the device's local web GUI page for configurations whenever the device is in Standalone mode.
Los Angeles, USA
Canada
Netherlands
Dubai, UAE
Local: (+971) 4 339 1227
Singapore
techsupport@engeniustech.com.sg
Local: (+65) 6227 1088
Taiwan, R.O.C


