

EWS7952P-FIT
EnGenius Fit 48-Port Gigabit 410W PoE+ Switch with 4 SFP Ports (EWS7952P-FIT)
Introduction
This Quick Start Guide is designed to guide you through the installation of the FitSwitch 48 PoE, model EWS7952P-FIT, including hardware installation and configuration.
FitSwitch 48 PoE
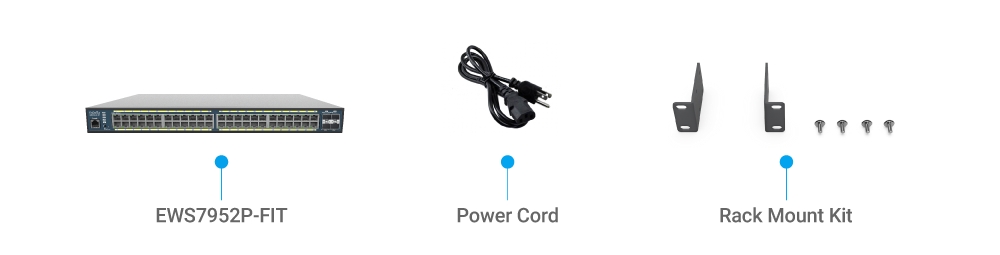
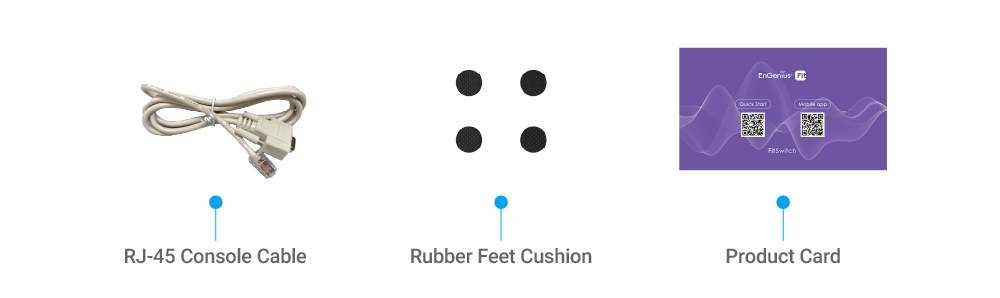
Package Contents
System Requirements
Web Browser:
Google Chrome (57.0.2987.110 and later)
Microsoft Edge (80.0.361.103 and later)
Mozilla Firefox (52.0 and later)
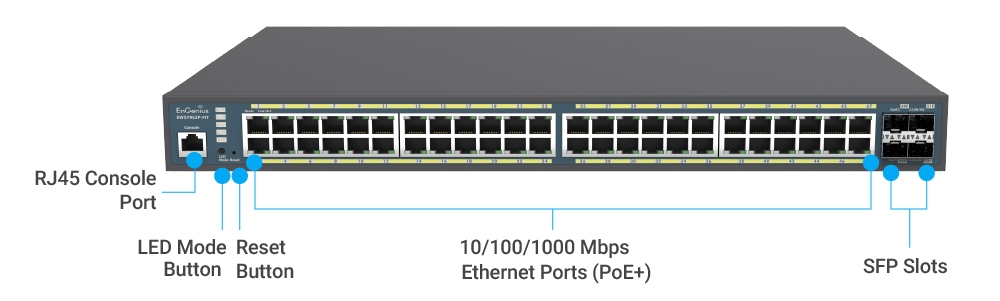
Hardware Overview
Front Panel - Ports & Buttons
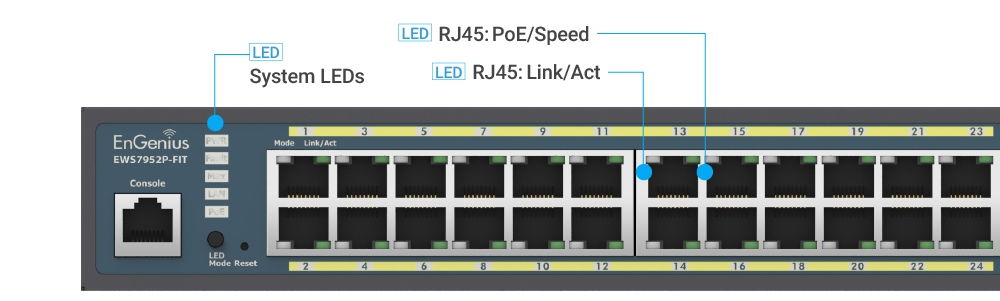
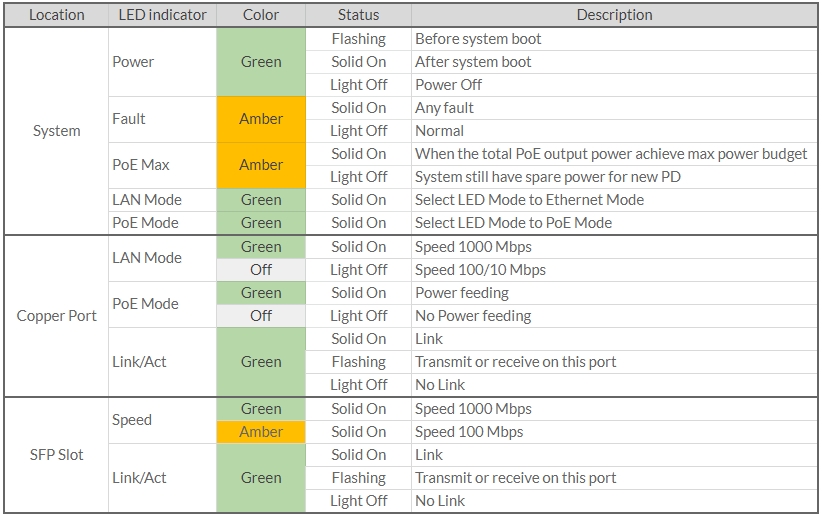
Front Panel - System & Ports LEDs

Hardware Installation
The EWS7952P-FIT can be installed on the rack. Please perform the steps to install:
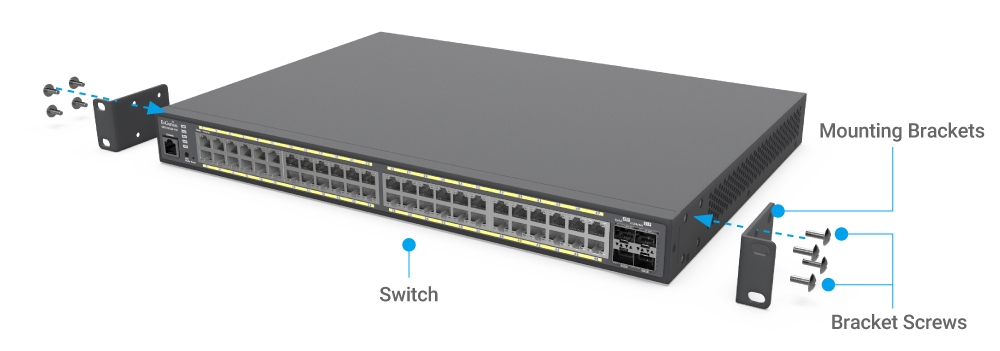
Rack Mount
Attach the Mounting Brackets as below and fasten the brackets using the eight Bracket Screws.
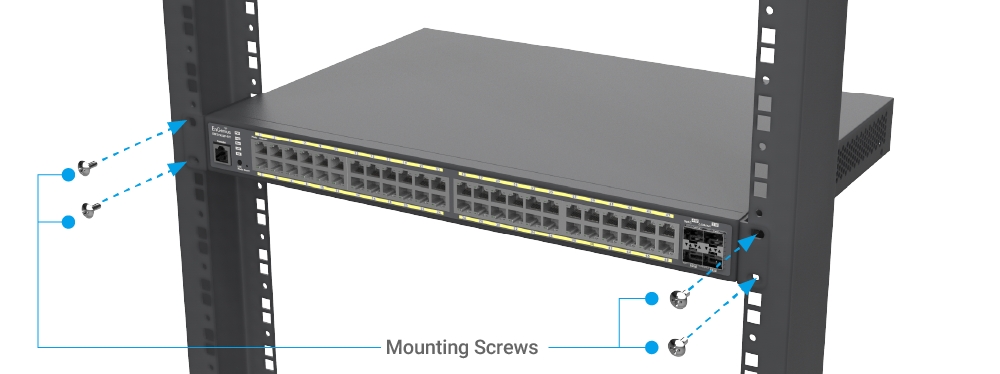
2. Secure the Mounting Brackets to the rack using the Mounting Screws.
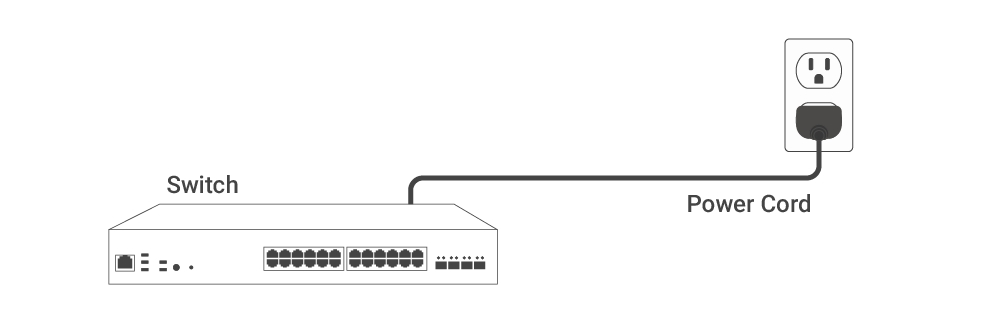
Power On Device
Connect the Power Cord to the back of the Switch, and then plug the Power Cord into the power outlet.
Management Plane
EnGenius Fit provides flexibility to manage your devices based on your network planning and deployment.
Option A: Cloud Management
Option B: On-Premises Management
Option C: Standalone Configuration
Cloud Management
Manage and monitor the switch through the FitXpress Platform with a mobile app or through the web portal.
FitXpress App (iOS/Android )
⬇️ Download the FitXpress mobile app here

On-Premises Management
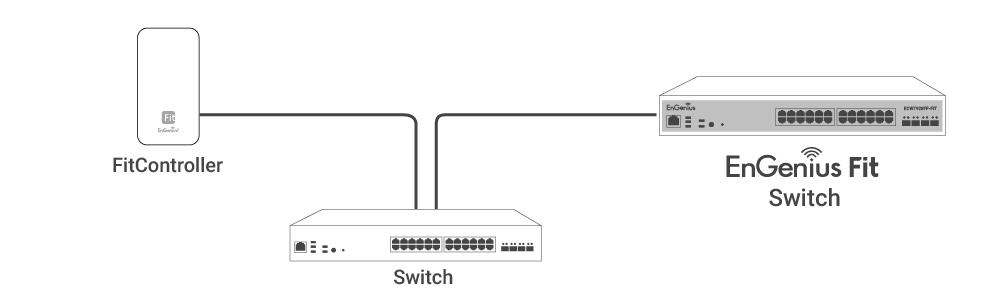
If you want to manage the device in an on-premises manner, a management station running the FitController is necessary—located on-site and connected to the same Layer 2 network.
FitController
FitController is a custom-built appliance with optimized network management software installed to ease the onsite deployment without manual server configurations.
Standalone Configuration
You can locate the computer, connect to the same network (subnet) as the switch and use the web browser to access the device's local web GUI page for configurations whenever the device is in Standalone mode.
Option A: Cloud Management with FitXpress
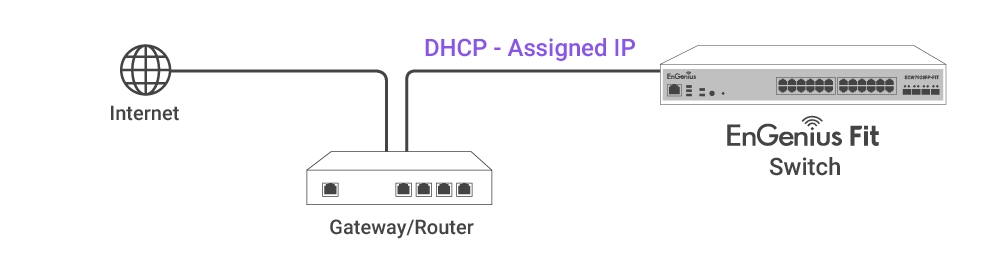
Step 1: Connecting to Ethernet
Connect the Ethernet cable from the EnGenius Fit Switch directly to the DHCP-enabled network and make sure the switch can reach the Internet.
Step 2: Register Device
You can register the switch with the FitXpress app.
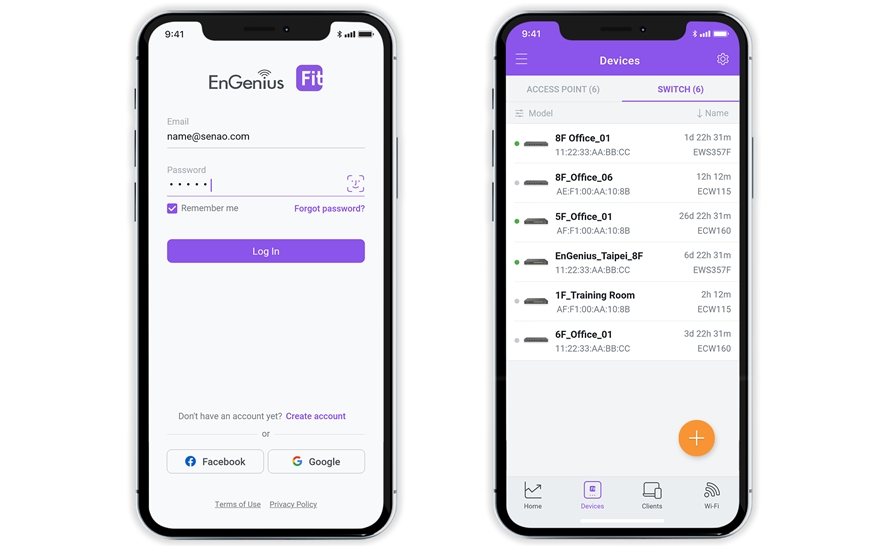
Open the FitXpress mobile app and create an account.
Log in and go to the Devices section. Click the Add(+) button.
Scan the QR code on the back of the device via the app.
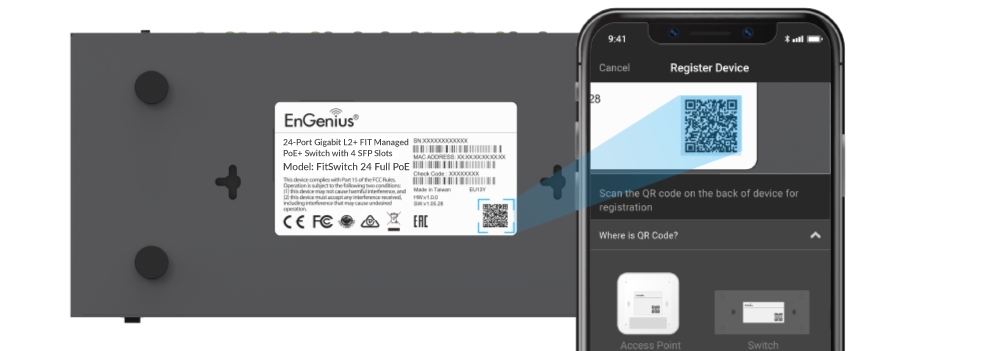
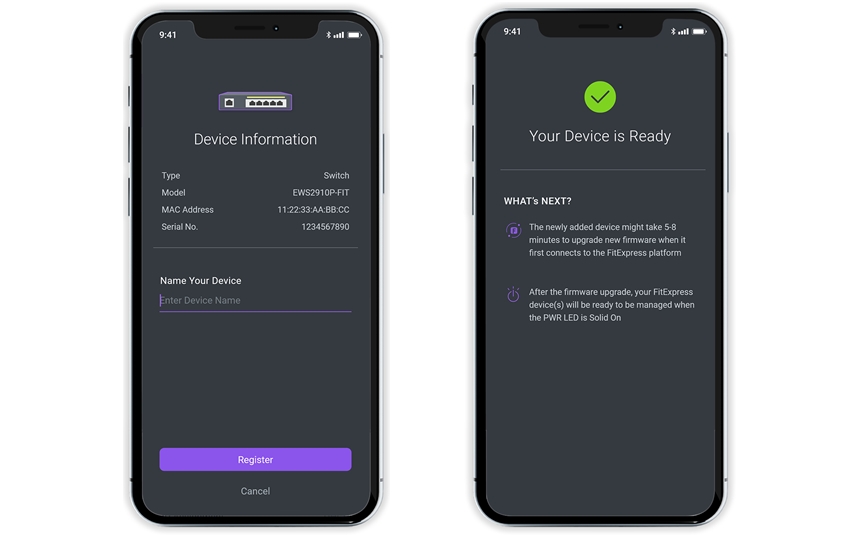
4. If the camera successfully scans a QR code, the app will display the device Information. You could tap "Register" to complete the registration.
Step 3: Connect to the FitXpress
Once the device is powered on and ready to connect to the Internet, the PWR LED will stay Solid On, which means the device is now connected to the FitXpress platform. It will automatically download the default configuration settings from FitXpress for automated provisioning.
When the switch is connected to the FitXpress platform for the first time, it will automatically check the latest available firmware. If the firmware upgrade is required, it might take 8~10 minutes to complete the process.
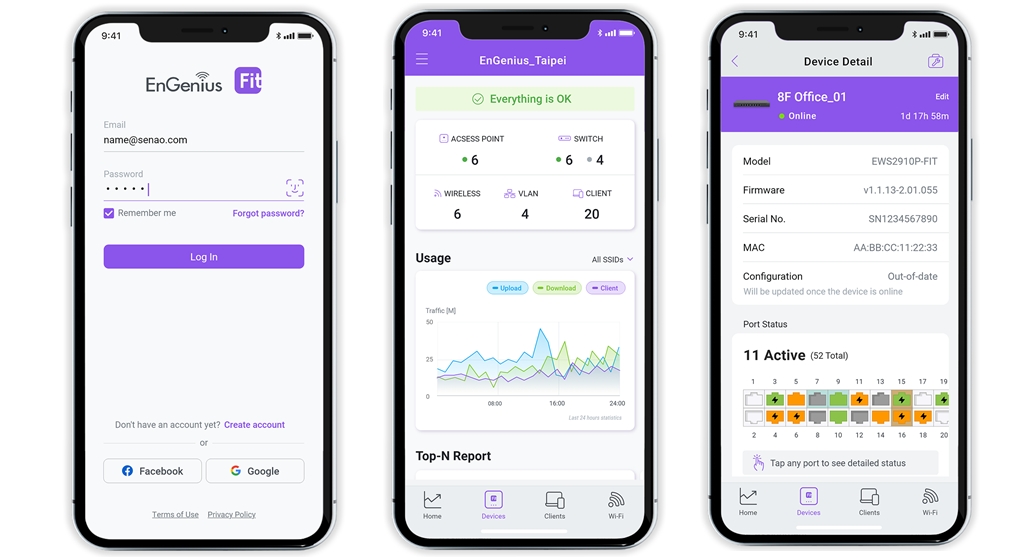
Step 4: Manage with FitXpress
Log in to the FitXpress app to configure detailed settings and monitor your devices.
Option B: On-premises Management with FitController
Step 1: Connecting Ethernet
Connect the Ethernet cable from the EnGenius Fit Switch directly to the DHCP-enabled network, which is the same Layer-2 network as FitController.
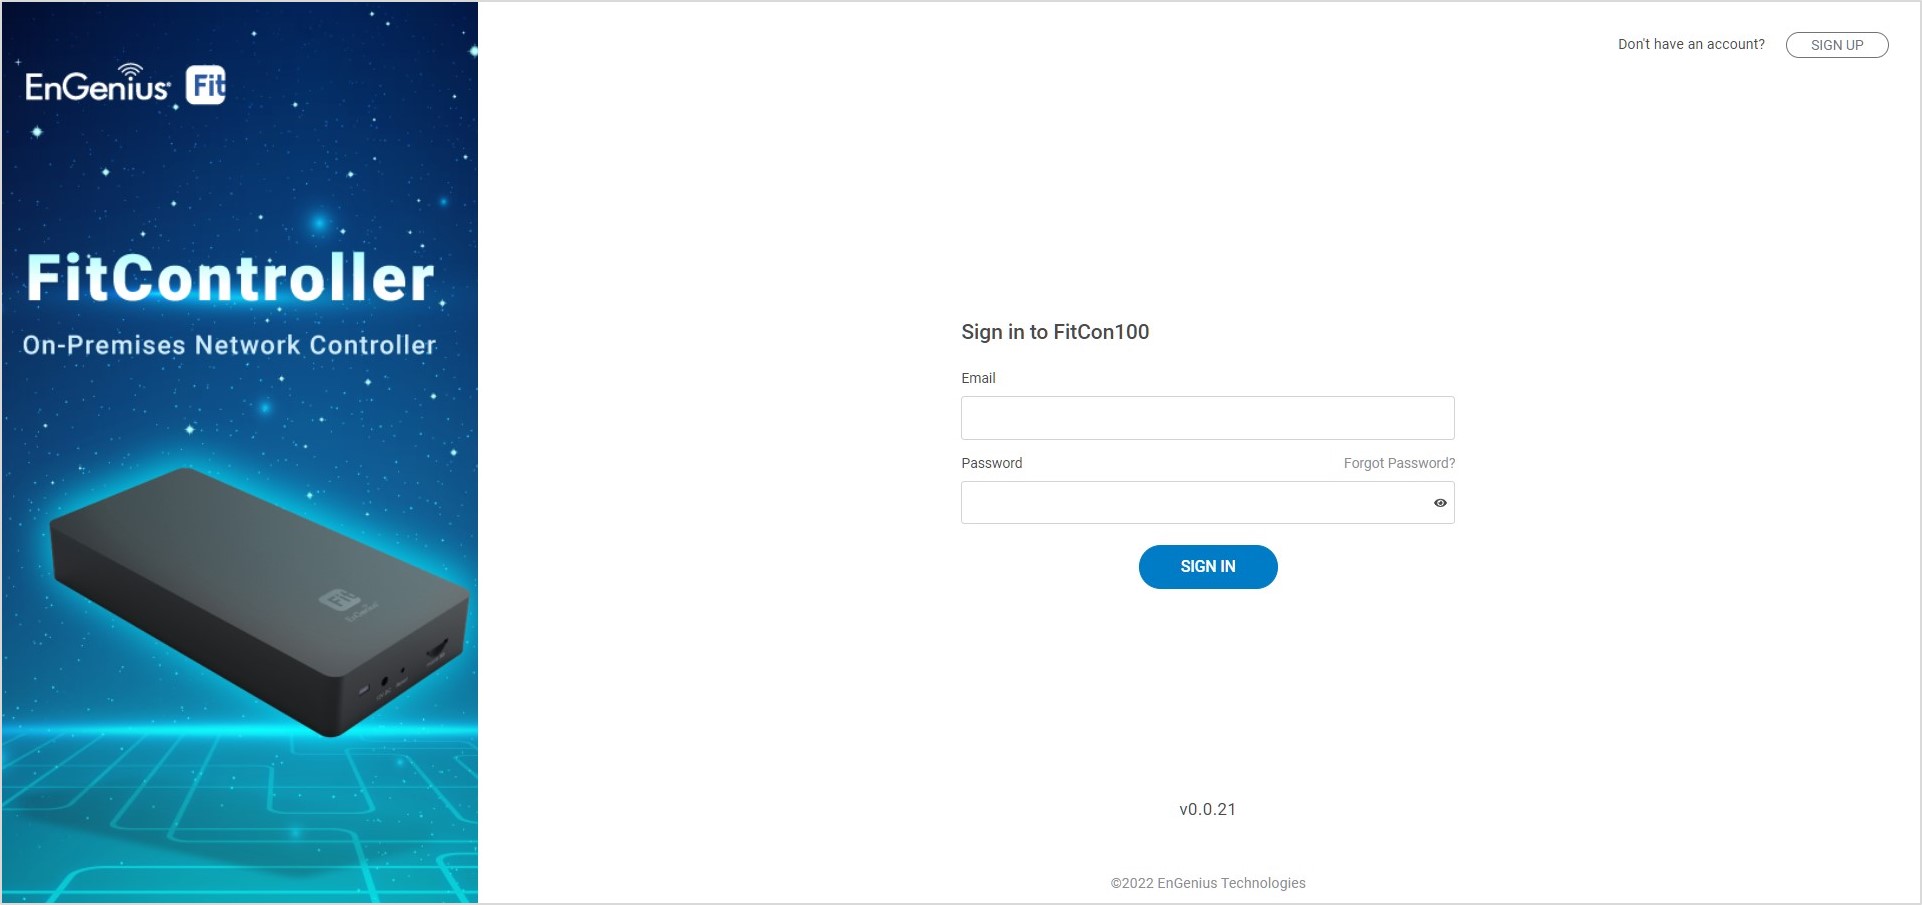
Step 2: Log in to the FitController
Launch your web browser to access the login page of FitController. Enter the email and password that you created and click Sign In.
Step 3: Register Device and Assign to Network
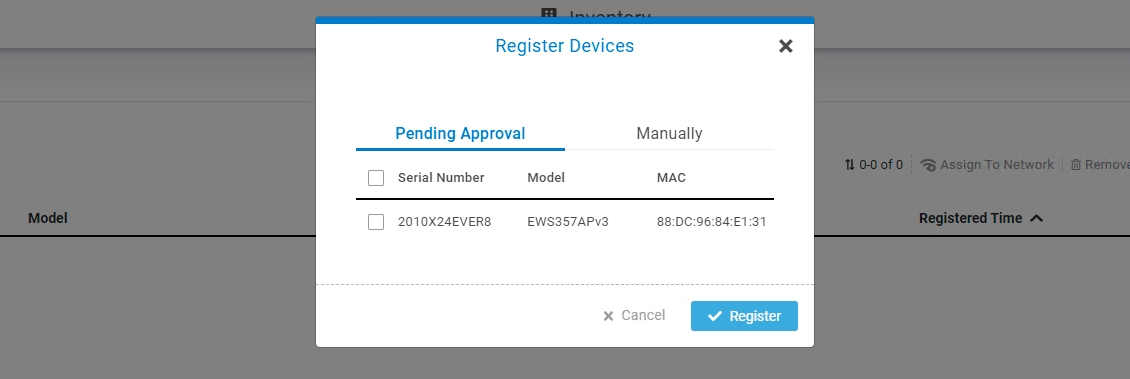
Go to the System > Inventory page and click "Register Device(+)."
FitController will list all EnGenius Fit devices discovered from the same L2 network in the Pending Approval section. Select the device and Click "Register" to add to inventory.
From the Inventory page, Select the newly added device and click "Assign to Network" to add the device to your personalized network.

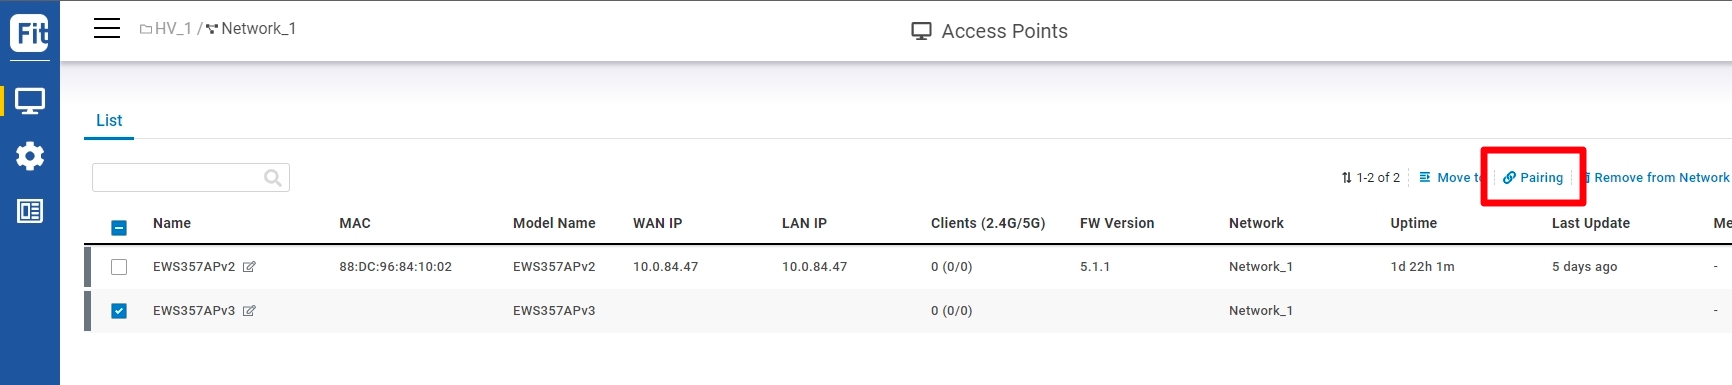
Step 4: Pairing the Device
Go to switch Device List
Select the newly added device and click "Pairing" to adopt the access point to build an encrypted connection between the device and FitController.
Step 5: Manage with the FitController
Navigate to the left site menu to configure and manage your network and view network statistics using the FitController management interface.
Option C: Standalone Configuration
Step 1: Access to Local Web
Connect your computer to the switch and ensure its IP address is in the same subnet.
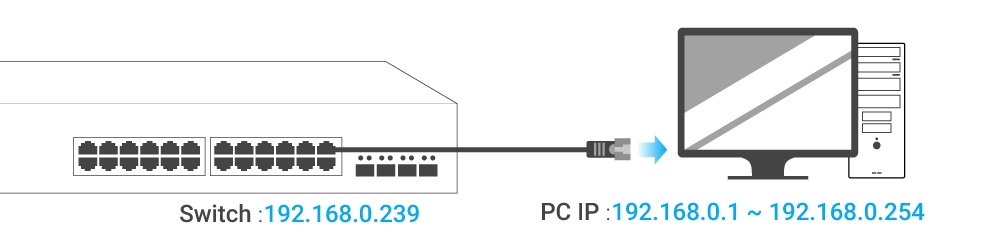
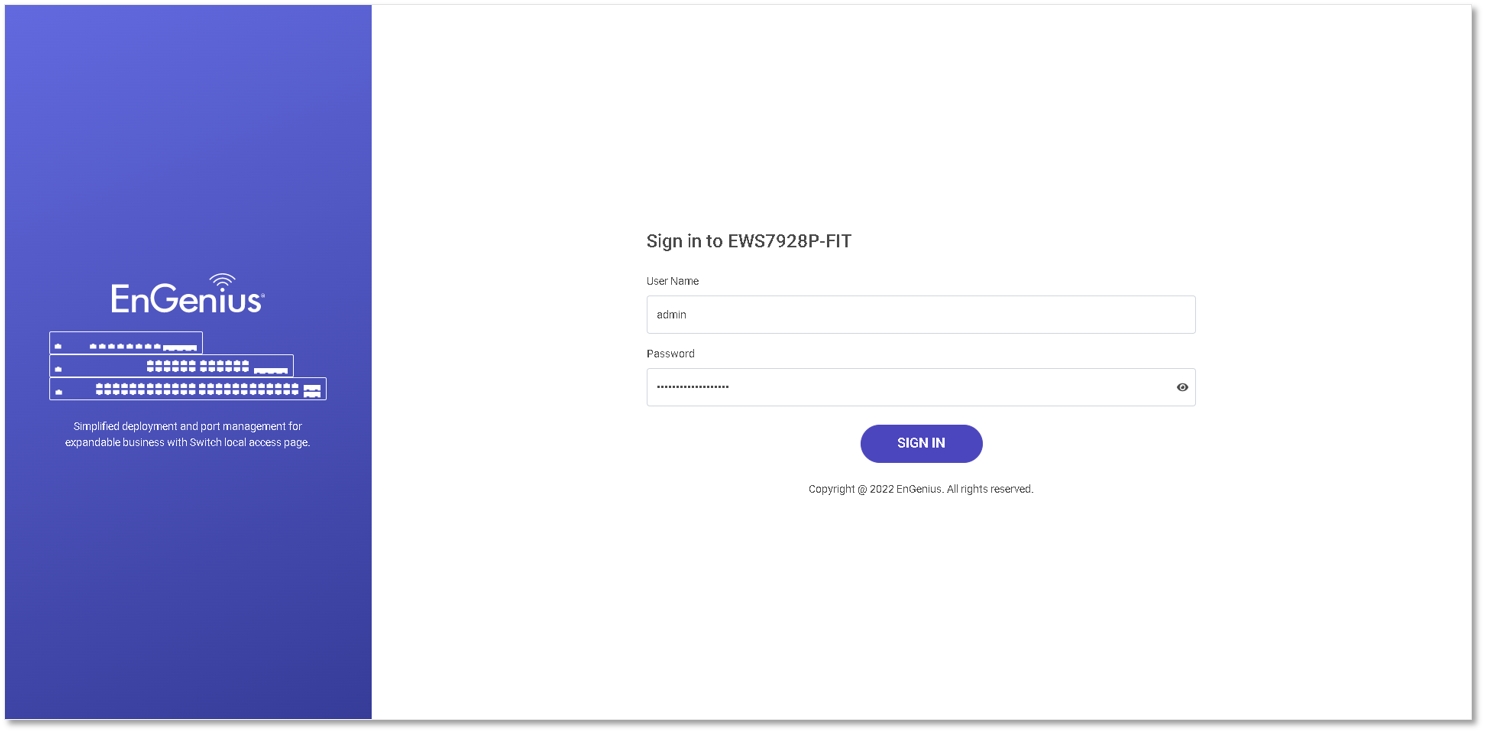
2. Launch your web browser and enter the URL: http://192.168.0.239 to access the switch's local web GUI.
3. Use the default login credential (ID/PWD: admin/password) to log in to the switch's local web page.
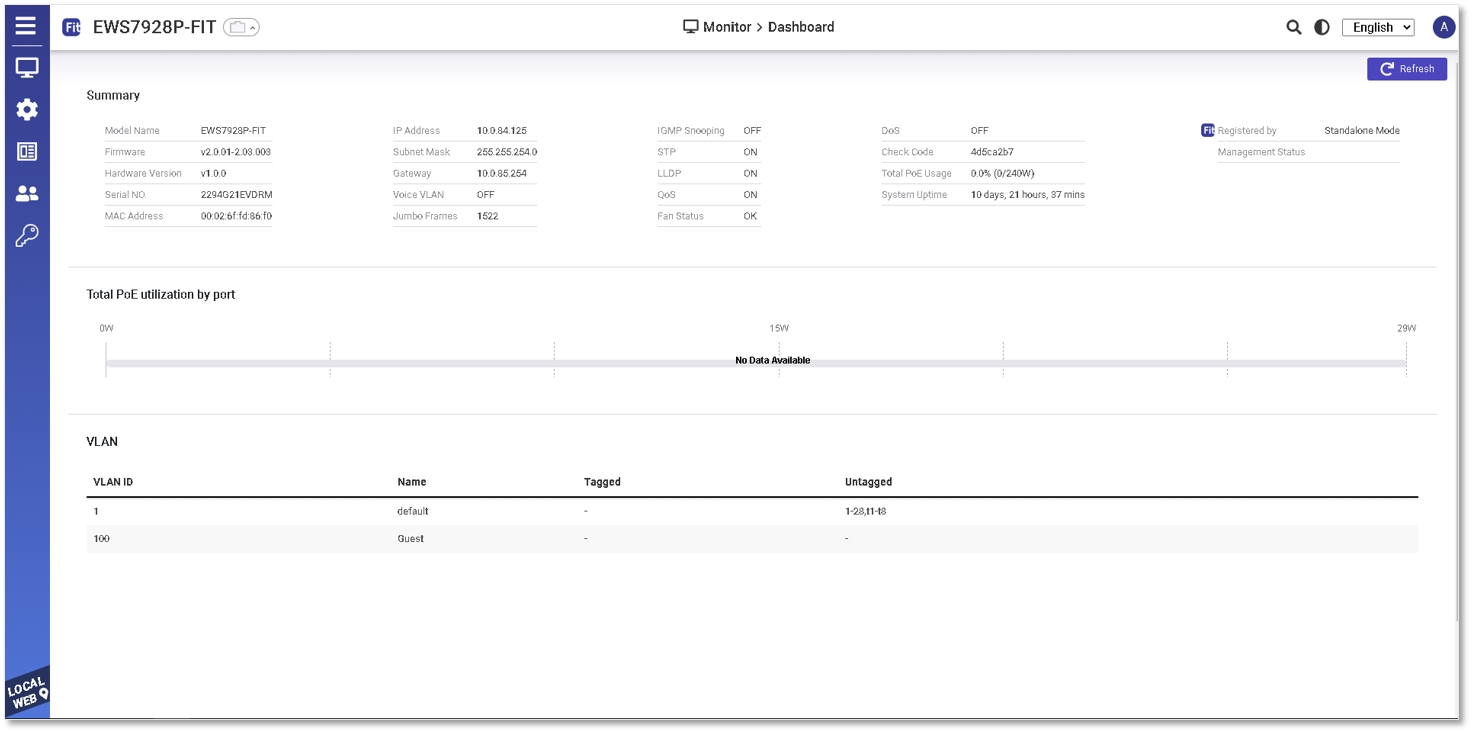
Step2: Configure and Manage the Device
After logging in to the device's local web page, navigate to the left-side menu to configure and manage the switch accordingly.
How to Change Management Mode?
EnGenius Fit devices support versatile network management methods, but the device can only be managed under one management mode, either FitXpress, FitController, or Standalone. Therefore, you need to reset the device before changing to a different management mode, followed by QSG instructions for onboarding the device.
Last updated
Was this helpful?